Introduction to Owl Photography
Have you ever looked at a picture of an owl and thought, “Wow, that’s amazing!”? Well, you’re not alone. Many people are fascinated by these mysterious creatures of the night, and photography is a great way to capture their beauty. Let’s dive into the world of owl photography and find out what it’s all about and why it’s so popular.
- What is owl photography?
- Why is owl photography popular?
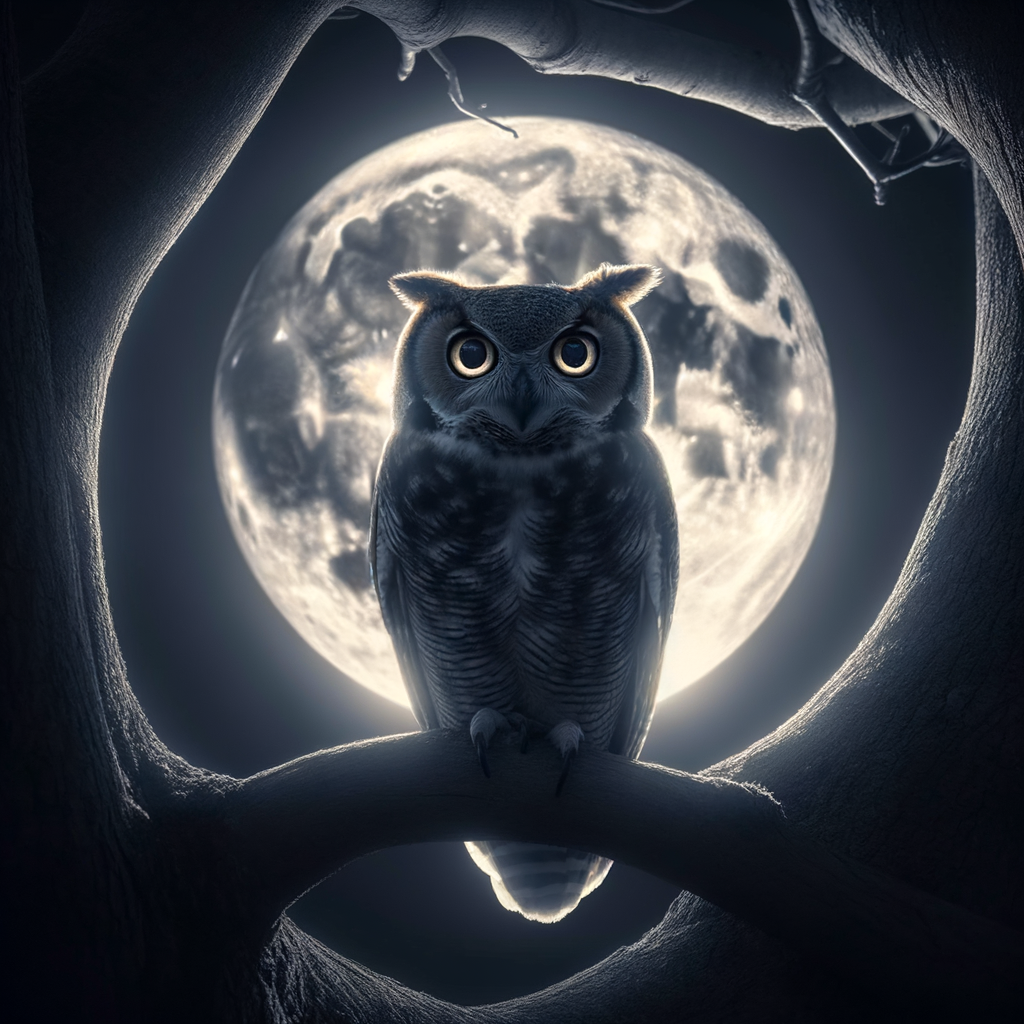
Owl photography is a type of wildlife photography that focuses on capturing images of owls. Owls are nocturnal birds known for their distinctive features and behaviors. Photographing them requires patience, skill, and a love for nature. It’s not just about taking a picture; it’s about telling a story and showing the unique personality of these magnificent birds.
Owl photography is popular for many reasons. First, owls are fascinating creatures. Their large, expressive eyes and majestic flight patterns make them a favorite subject for photographers. Second, photographing owls can be a thrilling adventure. It often involves exploring the outdoors at night and patiently waiting for the perfect shot. Lastly, owl photography is a way to raise awareness about these birds and their habitats. Many species of owls are threatened or endangered, and photographs can help inspire people to protect them.
So, whether you’re a seasoned photographer looking for a new challenge, or a nature lover who wants to capture the beauty of owls, owl photography can be a rewarding and exciting hobby. Stay tuned as we delve deeper into this fascinating world in the next sections of this blog post.
Beginner’s Owl Photography: Getting Started
Welcome to the exciting world of owl photography! If you’re a beginner, don’t worry. We’re here to help you understand the basics and get started with your new hobby. Let’s dive in!
Understanding the Basics of Wildlife Photography
Before we get into the specifics of owl photography, it’s important to understand some of the basics of wildlife photography. Here are two key points to remember:
- Importance of patience in wildlife photography: Wildlife photography is not about instant gratification. It requires a lot of patience. You might have to wait for hours to get the perfect shot. But trust us, the wait is worth it! A great wildlife photo is a reward for your patience.
- Understanding animal behavior: To capture stunning photos, you need to understand the behavior of the animal you’re photographing. In our case, that’s owls. Owls are nocturnal creatures, meaning they’re most active at night. Understanding this can help you plan your photography sessions accordingly.
Remember, the key to great wildlife photography is patience and understanding. So, take your time, observe the owls, and wait for the perfect moment to click that shutter button. Happy shooting!
Essential Owl Photography Techniques
Let’s dive into some of the most important techniques you need to master to take stunning owl photos. These are simple but powerful tips that can make a huge difference in your photography.
- Mastering the Art of Focus
- Understanding the Importance of Lighting
- Choosing the Right Time for Owl Photography
Getting your focus right is crucial when photographing owls. Owls are often on the move, and capturing them in sharp focus can be a challenge. Here’s a tip: focus on the owl’s eyes. The eyes are the most expressive part of an owl and getting them in sharp focus can make your photo come alive. Use a fast shutter speed to freeze the action and keep your subject in focus. Practice makes perfect, so don’t be discouraged if you don’t get it right the first time. Keep trying and you’ll see improvement.
Lighting plays a vital role in photography, and owl photography is no exception. The right lighting can enhance the details and colors of the owl, while poor lighting can make your photo look flat and dull. Natural light is your best friend when photographing owls. Try to shoot during the golden hours – early morning or late afternoon – when the light is soft and warm. Avoid harsh midday light as it can create unflattering shadows. Remember, the best light source is the one that helps you convey the mood and atmosphere you want in your photo.
Timing is everything in owl photography. Owls are nocturnal creatures, which means they are most active during the night. However, this doesn’t mean you can’t photograph them during the day. In fact, some of the best owl photos are taken during the twilight hours – just before sunrise or just after sunset. During these times, you can capture owls in action, hunting or interacting with their environment. Plus, the soft, diffused light during these hours can add a magical touch to your photos. So, plan your photo shoots accordingly and be patient. Your patience will be rewarded with some amazing shots.
Remember, these techniques are just a starting point. The key to great owl photography is practice, patience, and a love for these magnificent creatures. So, grab your camera and start exploring the world of owl photography. Happy shooting!
Night Owl Photography: A Unique Experience
Have you ever wondered how to capture the mysterious beauty of owls at night? It’s a unique experience that requires some special techniques. Let’s dive in!
How to Photograph Owls at Night
Photographing owls at night can be a bit tricky, but with the right equipment and settings, you can capture stunning images. Here are some tips to get you started:
- Using the right equipment for night owl photography
- Best camera settings for owl photography
First things first, you’ll need a camera that performs well in low light conditions. A DSLR or mirrorless camera with a fast lens (f/2.8 or faster) is ideal. A tripod is also essential to keep your camera steady and reduce blur. Don’t forget a good flashlight to help you find your way in the dark and spot the owls!
Now, let’s talk about settings. Start with a high ISO (around 1600-3200), but be aware that this might increase noise in your photos. Use a wide aperture (low f-number) to let in as much light as possible. As for shutter speed, it depends on the owl’s activity. If it’s perched, you can go slower (1/60 – 1/125). If it’s in flight, you’ll need a faster speed (1/1000 or faster). Remember, these are starting points, and you’ll need to adjust based on the conditions and your camera’s capabilities.
Photographing owls at night is a unique challenge, but also a rewarding experience. With the right equipment and settings, you can capture the nocturnal beauty of these magnificent creatures. So, grab your gear and head out for a night-time adventure!
Challenges of Night Owl Photography
Photographing owls at night can be a thrilling experience. However, it’s not without its challenges. Let’s dive into the two main hurdles you might face and how you can overcome them.
- Dealing with Low Light Conditions
One of the biggest challenges in night owl photography is the lack of light. Owls are nocturnal creatures, meaning they’re most active when the sun is down. This can make it tough to get clear, well-lit shots.
But don’t worry! There are ways to work around this. One method is to use a fast lens, which allows more light into the camera. You can also adjust your camera’s ISO setting. A higher ISO can make your camera more sensitive to light, but be careful! Too high an ISO can lead to grainy photos. It’s all about finding the right balance.
- Handling Noise in Night Photography
Another challenge you might encounter is noise. In photography, noise refers to the grainy or speckled appearance that can occur in your photos, especially in low light conditions. This can be a real pain when you’re trying to capture the intricate details of an owl’s feathers or eyes.
But again, there’s a solution. Most modern cameras have a noise reduction feature. This can help smooth out the graininess. Alternatively, you can use photo editing software to reduce noise in post-processing. Just remember, it’s always better to try and get the best shot you can in-camera first!
In conclusion, night owl photography can be challenging, but with the right techniques and a little patience, you can overcome these hurdles and capture some truly stunning images. So, grab your camera and give it a go! Who knows, you might just get that perfect owl shot you’ve been dreaming of.
Owl Photography Equipment: What You Need
When it comes to owl photography, having the right equipment is essential. This doesn’t just mean having a camera, but also understanding what type of camera is best for capturing these majestic creatures in their natural habitat.
Choosing the Right Camera
Choosing the right camera for owl photography can be a bit tricky. There are many options out there, but two types stand out: DSLR and Mirrorless cameras. Let’s take a closer look at both.
- DSLR vs Mirrorless for bird photography
- Best camera models for owl photography
DSLR cameras, also known as Digital Single Lens Reflex cameras, have been the go-to choice for professional photographers for years. They offer excellent image quality and a wide range of lens options. However, they can be bulky and heavy, which might not be ideal for long bird-watching sessions.
Mirrorless cameras, on the other hand, are lighter and more compact. They also offer excellent image quality, and many models come with features that make them great for bird photography, like fast autofocus and silent shooting modes. However, they can be more expensive and have fewer lens options compared to DSLRs.
In the end, the choice between DSLR and Mirrorless will depend on your personal preferences and budget. Both can work great for owl photography, so it’s up to you to decide which one suits your needs best.
When it comes to specific models, there are a few that stand out for owl photography. For DSLRs, the Canon EOS 7D Mark II and the Nikon D500 are excellent choices. They offer fast autofocus, high ISO performance, and robust build quality, making them perfect for outdoor photography.
For mirrorless cameras, the Sony a7 III and the Olympus OM-D E-M1 Mark II are top picks. They offer great image quality, fast autofocus, and a compact design, making them easy to carry around during your bird-watching sessions.
Remember, the best camera for owl photography is the one that you feel comfortable using and fits your budget. So, take your time, do your research, and choose wisely!
Importance of Lenses in Owl Photography
When it comes to owl photography, the lens you choose can make a big difference. Let’s dive into why lenses matter and how to pick the right one for your owl photography adventures.
- Choosing the right lens for bird photography
- Understanding focal length and aperture
Choosing the right lens for bird photography, especially for owls, is like picking the right tool for a job. The lens you choose can affect the quality and style of your photos. For example, a wide-angle lens can capture an owl in its natural habitat, while a telephoto lens can get you up close and personal with an owl, even from a distance.
For owl photography, a lens with a focal length of 300mm to 600mm is often recommended. This allows you to maintain a respectful distance from the owl, while still capturing detailed and intimate shots. Remember, the welfare of the owl should always come first in wildlife photography.
Focal length and aperture are two important concepts in photography. The focal length of a lens determines how zoomed in your photos will be. A lens with a longer focal length will give you a more zoomed-in view, perfect for capturing close-up shots of owls.
Aperture, on the other hand, controls the amount of light that enters the lens. A lens with a larger aperture (represented by a smaller f-number) allows more light to enter, which is useful for owl photography, especially when shooting in low-light conditions at dawn or dusk.
Understanding these concepts can help you choose the right lens for your owl photography and take better photos. So, don’t be afraid to experiment and learn as you go!
In conclusion, the lens you choose plays a crucial role in owl photography. By understanding the importance of choosing the right lens and the concepts of focal length and aperture, you can take your owl photography to the next level. Happy shooting!
Conclusion: Taking Your Owl Photography to the Next Level
So, you’ve learned all about owl photography, from the basics to the equipment you need, and even some tips for night owl photography. But what’s next? How can you take your owl photography to the next level? Let’s find out!
- Practicing your skills
- Joining owl photography communities
Just like any other skill, photography requires practice. The more you practice, the better you get. So, don’t be afraid to spend time in the field, trying out different settings and techniques. Remember, every great photographer started somewhere. Photography is an art, and it takes time to master it. So, keep practicing and don’t get discouraged if your photos don’t turn out perfect right away. With time and patience, you’ll see improvement.
Another great way to improve your owl photography skills is by joining photography communities. There are many online forums and social media groups dedicated to owl photography where you can share your photos, get feedback, and learn from others. You can also learn about different species of owls, their habits, and the best times and places to photograph them. Joining these communities can provide you with a wealth of knowledge and resources that can help you take your owl photography to the next level.
In conclusion, taking your owl photography to the next level involves continuous learning and practice. It’s about being patient, persistent, and passionate about what you do. And remember, the journey is just as important as the destination. So, enjoy every moment of your owl photography journey and keep capturing those stunning shots!
