Introduction to Owl Photography
Ever wondered why some people are so fascinated by owl photography? Or perhaps you’re curious about the challenges and rewards that come with capturing these majestic creatures on camera? Well, you’re in the right place! Let’s dive into the world of owl photography.
- Understanding the allure of owl photography
- Challenges and rewards of photographing owls
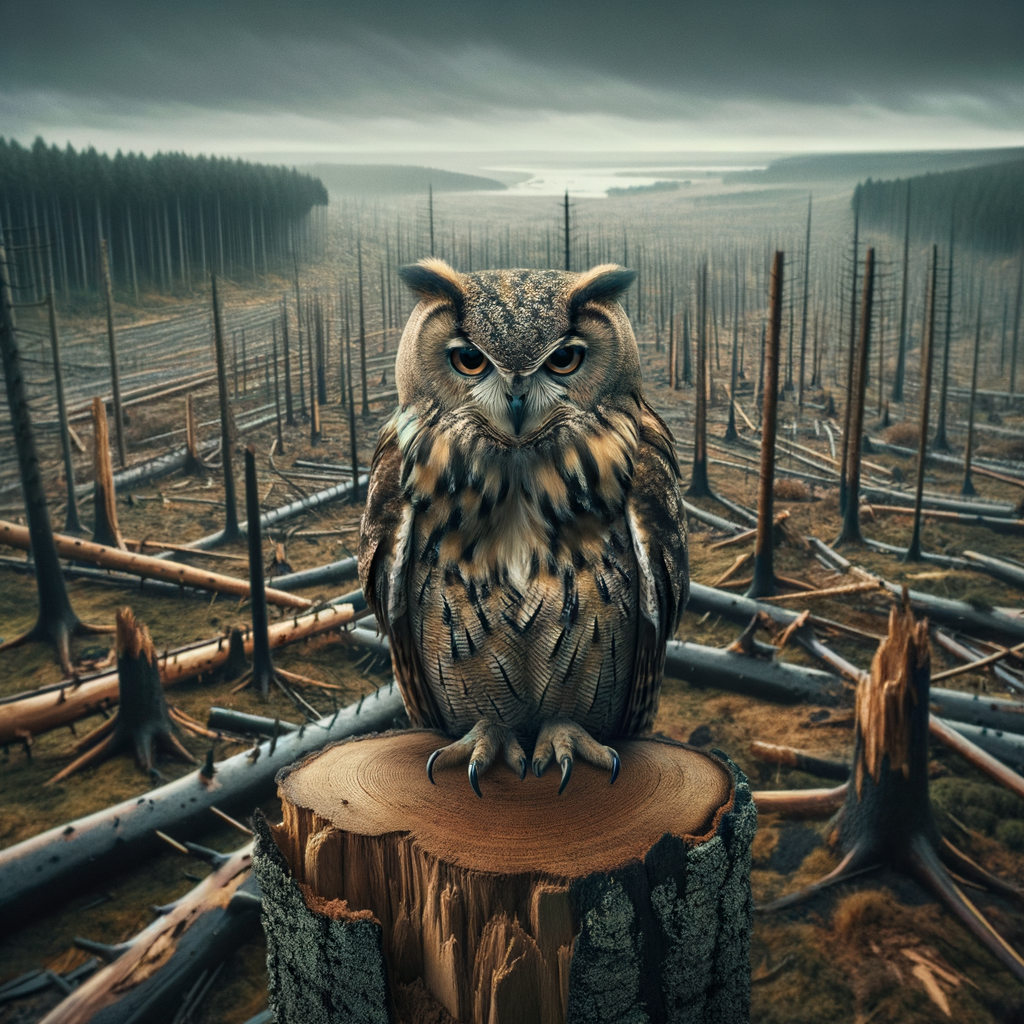
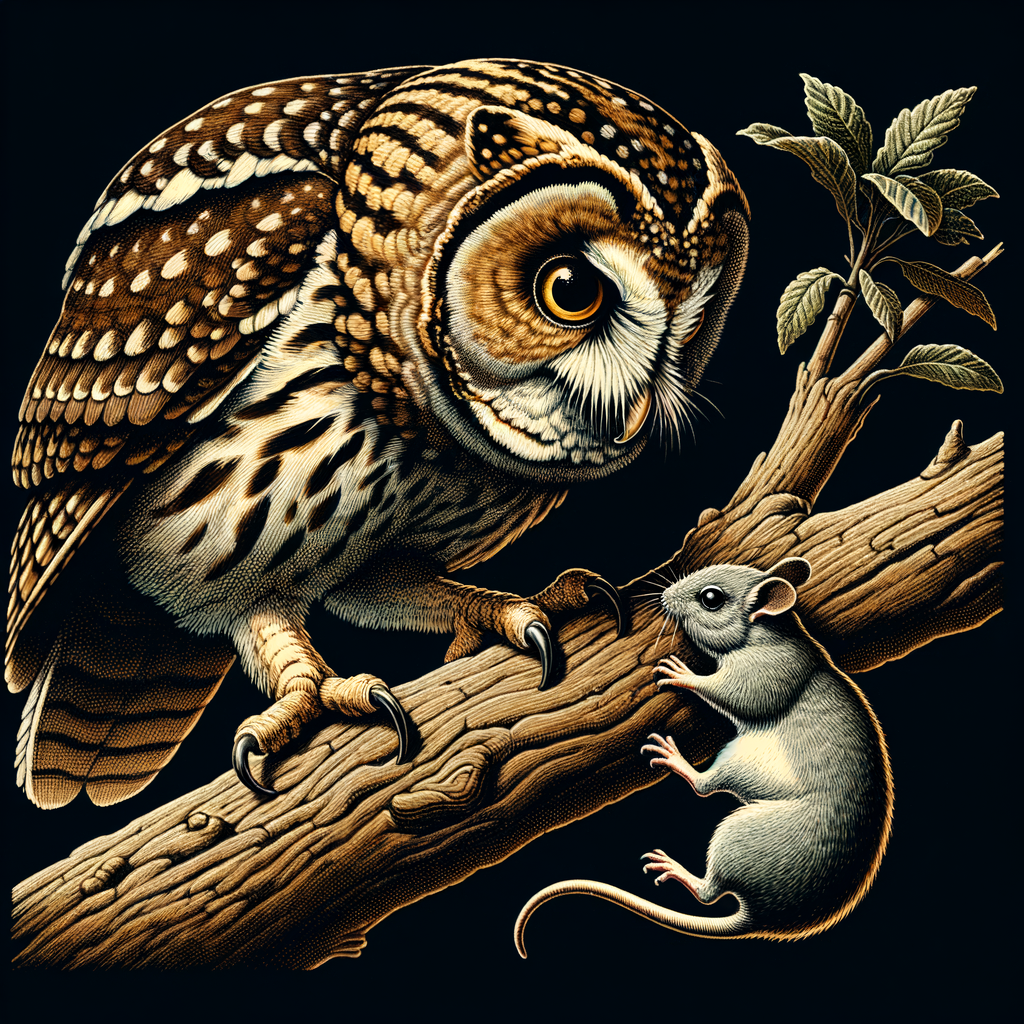
Owls are mysterious and captivating creatures. They’re often associated with wisdom, knowledge, and mystery, making them a popular subject for photographers. Their unique features, like their large, expressive eyes and their ability to turn their heads almost completely around, make for stunning and dramatic photographs. Plus, there’s something truly magical about capturing an owl in its natural habitat, whether that’s soaring through the night sky or perched silently on a tree branch. Wikipedia has a great article on owls and their symbolism if you’re interested in learning more.
Photographing owls isn’t always easy. They’re primarily nocturnal creatures, which means you’ll often be shooting in low light conditions. Plus, they can be quite elusive and hard to find. But don’t let these challenges deter you! The rewards of owl photography are well worth the effort. There’s nothing quite like the thrill of spotting an owl in the wild and capturing that perfect shot. Plus, your photos can help raise awareness about these incredible creatures and the importance of protecting their habitats.
So, are you ready to embark on your owl photography journey? Stay tuned for our next sections where we’ll share some top tips and techniques to help you get started!
Owl Photography Tips
Ready to take your love for owls to the next level? Let’s dive into some handy tips for capturing these magnificent creatures on camera!
Preparation for Wild Owl Photography
Before you start snapping away, there are a few things you need to prepare. Here’s a step-by-step guide to help you get ready for your owl photography adventure.
- Researching about owl behavior and habitats
- Choosing the right equipment for owl photography
- Scouting locations for capturing owls on camera
Understanding owls is key to capturing them in their natural habitat. Spend some time learning about their behaviors, what they eat, and where they live. This will help you anticipate their movements and get the best shots. Check out Wikipedia’s page on owls to get started!
Next, you’ll need the right gear. A good camera with a zoom lens is a must, as owls can be quite elusive. A tripod can also be handy for stability, especially in low light conditions. Don’t forget to pack extra batteries and memory cards too!
Finally, find a good location. Look for places where owls are known to live. This could be a local forest, park, or even your own backyard! Remember to be respectful of their habitat and keep a safe distance.
With these tips, you’re well on your way to capturing stunning owl photos. Happy shooting!
Owl Photography Settings
Photographing owls can be a thrilling experience, but it’s not as simple as pointing and shooting. You need to understand the right settings to use on your camera. Let’s dive into some important aspects!
- Understanding lighting conditions for night owl photography
- Choosing the right camera settings for owl photography
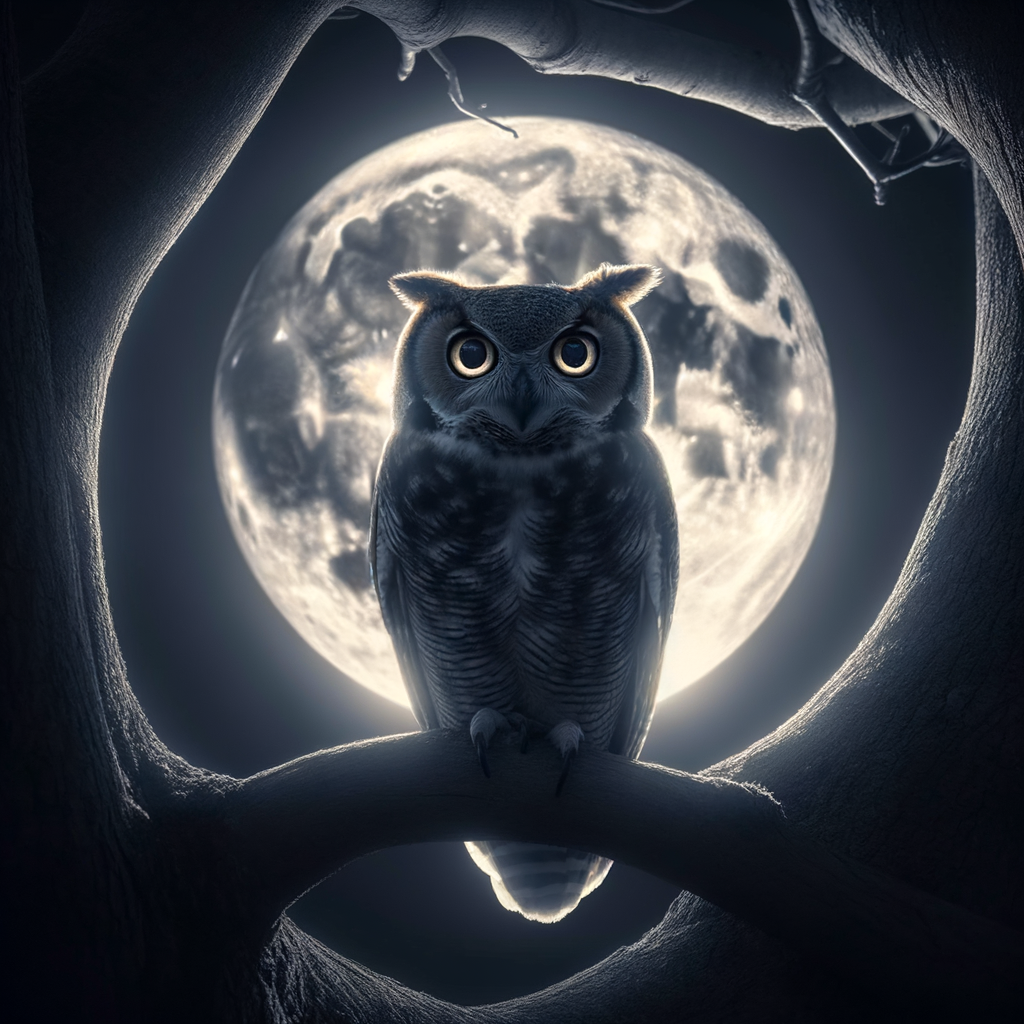
Owls are nocturnal creatures, which means they’re most active during the night. This can make photography a bit tricky, but don’t worry! It’s all about understanding the lighting conditions. Night photography requires you to adjust your camera settings to capture the best possible shots.
First, you’ll need to increase your ISO. This makes your camera more sensitive to light. However, a higher ISO can also lead to more noise or grain in your photos, so it’s a bit of a balancing act. You’ll also want to use a wide aperture (low f-number) to let in as much light as possible. Finally, consider using a slower shutter speed to allow more light to hit the sensor. But be careful, as this can lead to blurry photos if the owl moves.
Now that we’ve covered lighting, let’s talk about other camera settings. One of the most important is the focus mode. Because owls can move quickly, you’ll want to use continuous or tracking autofocus. This will keep the owl in focus even if it moves.
Next, consider your metering mode. Spot metering can be useful for owl photography because it measures the light in a small area of the frame. This can help ensure the owl is properly exposed, even if the background is very dark or very bright.
Finally, don’t forget about white balance. This adjusts the colors in your photo to match the lighting conditions. For night photography, you might want to use a cooler (bluer) white balance to capture the moonlight.
Remember, these are just starting points. The best settings will depend on your specific situation and equipment. Don’t be afraid to experiment and see what works best for you. Happy owl photographing!
Bird Photography Techniques
Photographing birds, especially owls, can be a challenging yet rewarding experience. With the right techniques, you can capture stunning images that truly showcase the beauty and majesty of these creatures. Let’s dive into some of the best techniques for photographing owls.
Techniques for Photographing Owls
Photographing owls requires a blend of patience, timing, and technical skills. Here are two essential techniques that can help you capture the perfect shot:
- Using the rule of thirds in owl photography
- Mastering the art of focus in bird photography
The rule of thirds is a basic principle in photography that can help create balanced and interesting shots. Imagine dividing your frame into nine equal parts by two equally-spaced horizontal lines and two equally-spaced vertical lines. The idea is to place the owl or the most important elements of your scene along these lines or at their intersections. This technique can help draw the viewer’s eye into the photo and make it more engaging.
Focus is crucial in bird photography. With owls, it’s important to focus on the eyes as they are the most expressive part of the bird. Use a fast shutter speed to freeze the action and keep the owl sharp, especially if it’s in flight. Remember, practice makes perfect. The more you practice focusing, the better your bird photos will be.
Remember, the key to great owl photography is patience and practice. Don’t be discouraged if you don’t get the perfect shot right away. Keep trying, keep learning, and most importantly, enjoy the process!
Post-Processing Techniques
Once you’ve captured your owl photos, the fun doesn’t stop there! It’s time to dive into the world of post-processing. This is where you can truly make your owl photographs shine. Let’s explore some editing tips and software that can help highlight the majesty of owls.
- Editing tips for enhancing owl photographs
- Adjust the brightness and contrast: This can help to bring out the details in the owl’s feathers and eyes.
- Use the crop tool: Sometimes, less is more. Crop your photo to focus on the owl and remove any distracting elements.
- Play with color balance: Owls come in a variety of colors. Enhancing these colors can make your photo more vibrant and appealing.
- Using software to highlight the majesty of owls
Editing is a crucial part of photography. It’s like the icing on the cake, adding the final touches that can make your photos stand out. Here are some tips to enhance your owl photos:
There are many software options available for editing your photos. Some popular ones include Adobe Photoshop and Lightroom. These tools offer a wide range of features that can help you highlight the majesty of owls. For example, you can use the ‘clarity’ slider in Lightroom to bring out the texture in the owl’s feathers. Or, use the ‘spot removal’ tool in Photoshop to clean up any unwanted spots or blemishes.
Remember, the goal of editing is not to create a completely different image, but to enhance the beauty that’s already there. So, go ahead and experiment with different tools and techniques. And most importantly, have fun with it!
Post-processing is a journey of discovery and creativity. With these tips and tools, you’re well on your way to creating stunning owl photographs that capture the heart and soul of these magnificent creatures.
Nature Photography Tips
When it comes to nature photography, there’s more to it than just capturing stunning images. It’s about respecting the wildlife and the environment around you. Here are some tips on how to do just that.
Respecting Wildlife
Wildlife, including our feathered friends, the owls, deserve our utmost respect. Here’s how you can practice ethical wildlife photography and contribute to owl conservation through your lens.
-
Practicing ethical wildlife photography
When photographing owls or any other wildlife, it’s important to remember that their welfare comes first. Never disturb their natural behaviors or cause them stress just to get a good shot. Always keep a safe distance and use a zoom lens to get close-up shots. If an animal seems disturbed, back away slowly. Remember, we’re visitors in their home. For more information on ethical wildlife photography, check out this Wikipedia article.
-
Contributing to owl conservation through photography
Photography can play a crucial role in owl conservation. By capturing and sharing images of these magnificent creatures, you can raise awareness about their plight and the need for conservation. You can also participate in photo contests or exhibitions that support owl conservation efforts. Your photographs could inspire others to care about owls and take action to protect them. Remember, every picture tells a story, and your owl photos could tell a story of conservation.
Respecting wildlife and contributing to conservation through photography not only enhances your experience as a photographer but also helps ensure that future generations can enjoy the beauty of owls and other wildlife.
Adapting to the Environment
Hey there, owl lovers! Let’s talk about how to adapt to the environment when you’re out in the wild, snapping photos of our feathered friends.
-
Preparing for Outdoor Conditions in Nature Photography
Before you head out to take pictures of owls, it’s super important to be prepared for the outdoor conditions. You might have to deal with all sorts of weather, from sunny and hot to cold and rainy. So, make sure you dress appropriately. Layer your clothes so you can add or remove them as needed. Don’t forget your hat, gloves, and waterproof boots!
Also, remember to pack some essentials like water, snacks, a first-aid kit, and a map or GPS. You don’t want to get lost or go hungry while you’re out there. And of course, protect your camera equipment from the elements too. Use a waterproof bag or case to keep it safe and dry.
-
Adapting to Changing Weather and Lighting Conditions
When you’re out in nature, the weather and lighting can change in a snap. One minute it’s sunny, the next it’s cloudy. But don’t worry, you can still take great photos of owls in any condition.
If it’s sunny, try to position yourself so the sun is behind you. This will help avoid shadows on the owl. If it’s cloudy, use the soft light to your advantage. It can help bring out the details in the owl’s feathers.
And if it’s raining? Well, that can make for some really cool and dramatic photos! Just make sure you protect your camera with a rain cover or umbrella.
Remember, the key to great owl photography is to adapt to the environment. So, don’t let a little weather stop you. With the right preparation and a flexible attitude, you can capture some amazing shots!
So, that’s it for now, folks. Stay tuned for more tips on owl photography. And remember, the best way to learn is to get out there and practice. Happy shooting!
Owl Photography Guide: Case Studies
Let’s dive into some real-life experiences of photographers who have successfully captured the beauty of owls in their natural habitats. We’ll learn from their challenges, triumphs, and key takeaways.
Case Study 1: Capturing the Snowy Owl
Our first case study involves the majestic Snowy Owl, a bird that’s as elusive as it is beautiful. Let’s explore the challenges faced and how they were overcome.
- Challenges faced and how they were overcome: The Snowy Owl is a nocturnal creature, making it difficult to photograph in its natural habitat. The photographer had to adjust to the owl’s schedule, often staying out in the cold, dark nights. The snowy landscape also posed a challenge as it often resulted in overexposed photos. The photographer overcame these challenges by using a fast lens to capture the owl in low light and adjusting the camera settings to correctly expose the snowy background. Learn more about the Snowy Owl here.
- Key takeaways and learnings: Patience is key in wildlife photography. Waiting for the perfect moment can be challenging, but it’s often rewarding. Understanding the behavior of the Snowy Owl helped the photographer anticipate its movements, resulting in better shots. Also, mastering the camera settings for different lighting conditions is crucial for capturing stunning photos in nature.
Stay tuned for more case studies where we delve into the fascinating world of owl photography, sharing insights and tips from experienced photographers.
Case Study 2: The Majestic Barn Owl
Let’s dive into our second case study, where we focus on the enchanting Barn Owl. This bird’s unique features make it a fascinating subject for photography. We’ll also share some valuable lessons we learned along the way and tips for your future owl photography projects.
- Unique aspects of photographing the Barn Owl
- Nocturnal Nature: Barn Owls are primarily active at night, which means you’ll need to master the art of low-light photography. This can be challenging, but the results are worth it!
- Silent Flight: Unlike other birds, Barn Owls fly almost silently. This makes them harder to track, but it also allows for some stunning action shots if you’re patient and prepared.
- Unpredictable Behavior: Barn Owls have a habit of suddenly changing direction in flight, making them unpredictable and exciting subjects. This unpredictability requires quick reflexes and a fast shutter speed.
- Lessons learned and tips for similar future projects
- Patience is Key: Owl photography requires a lot of patience. Owls are elusive creatures, and it may take hours before you get the perfect shot. But remember, the wait is always worth it!
- Be Prepared: Always have your camera settings ready for low-light conditions. A fast lens and high ISO can help capture clear images in the dark.
- Respect the Owl: Always maintain a safe distance from the owl and avoid disturbing its natural behavior. This not only ensures the owl’s safety but also leads to more natural and beautiful photographs.
The Barn Owl, with its heart-shaped face and glowing eyes, is a sight to behold. Its ghostly appearance and nocturnal habits add a sense of mystery and intrigue to your photos. Here are some unique aspects we encountered while photographing this majestic creature:
Photographing the Barn Owl was a learning experience. Here are some lessons we learned and tips for your future owl photography projects:
Photographing the Barn Owl was a unique and rewarding experience. We hope that our insights and tips will help you in your future owl photography endeavors. Remember, every owl has a story to tell, and as a photographer, it’s your job to capture it. Happy shooting!
Conclusion: The Joy of Photographing Owls
As we wrap up our journey into the world of owl photography, let’s take a moment to reflect on the joy and satisfaction that comes from capturing these magnificent creatures in their natural habitat. It’s a hobby that requires patience, skill, and a deep appreciation for nature. But the reward? Priceless!
- Recap of owl photography tips and techniques
- Always respect the owl’s space and never disturb their natural behavior for a shot.
- Use a telephoto lens to capture clear, close-up shots from a distance.
- Patience is key. Owls are most active during dawn and dusk, so be prepared for long waits.
- Experiment with different settings on your camera to find what works best for you.
- Encouragement for aspiring owl photographers
We’ve covered a lot of ground in this guide, from understanding owl behavior to mastering the art of bird photography. Here’s a quick recap:
If you’re just starting out, remember that every great photographer was once a beginner. Don’t be discouraged if your first few shots aren’t perfect. Practice makes perfect, and with time, you’ll learn to anticipate the owl’s movements and capture stunning images.
Remember, the joy of photographing owls isn’t just about the end result. It’s about the journey, the connection with nature, and the thrill of capturing a moment that’s uniquely yours. So grab your camera, head out into the wild, and start creating your own owl photography adventures!
Happy shooting!