Introduction to Owl Photography
Have you ever wondered how to capture the perfect shot of an owl in flight? Or maybe you’re curious about the best time to photograph these magnificent creatures? Well, you’re in the right place! In this blog post, we’ll introduce you to the exciting world of owl photography.
- Understanding the basics of owl photography
- Importance of studying owl flight patterns
Before you start snapping away, it’s important to understand the basics of owl photography. Owls are nocturnal creatures, meaning they’re most active at night. This can make photographing them a bit tricky, but with the right equipment and a little patience, you can capture some truly stunning images.
First, you’ll need a good camera. DSLRs or mirrorless cameras with a high ISO range are ideal for shooting in low light conditions. A telephoto lens will also come in handy, allowing you to get close-up shots without disturbing the owls.
Next, you’ll need to know where to find owls. They can be found in a variety of habitats, from forests and deserts to city parks. Do some research to find out where owls are commonly sighted in your area.
Studying owl flight patterns is crucial for successful owl photography. Owls have a unique flying style, often swooping and diving as they hunt for prey. By understanding their flight patterns, you can anticipate their movements and capture dynamic, action-packed shots.
For example, many owls have a ‘hunting circuit’ that they follow each night. If you can figure out this circuit, you can position yourself in the perfect spot to photograph the owl in flight. Remember, patience is key. It may take several nights of observation before you start to see patterns.
There’s a lot to learn about owl photography, but don’t be discouraged. With a little practice and perseverance, you’ll be capturing breathtaking images in no time. So grab your camera, head out into the night, and start exploring the fascinating world of owls!
Understanding Owl Flight Patterns
Ever wondered how owls fly so smoothly and swiftly in the night? Let’s dive into the fascinating world of owl flight patterns and how they impact your owl photography.
Owl Flight Speed
Owls are known for their silent and speedy flight. But how fast do they actually fly? On average, owls can fly at speeds of 40-60 mph! That’s faster than a car in the city!
- How speed impacts your owl photography
Speed plays a big role in owl photography. The faster an owl flies, the harder it is to capture a clear shot. But don’t worry! With the right techniques, you can capture stunning high-speed owl photos.
- Techniques for capturing high-speed bird photography
Here are a few tips to help you capture those high-speed owl shots:
- Use a fast shutter speed: This will freeze the action and give you a clear shot of the owl in flight.
- Pre-focus your camera: If you know where the owl is likely to fly, pre-focus your camera on that spot. This will help you capture the owl as it flies past.
- Practice panning: Panning is a technique where you move your camera to follow the bird in flight. This can give you a sharp image of the owl with a blurred background.
Remember, practice makes perfect. So, don’t get discouraged if your first few shots aren’t perfect. Keep trying and you’ll get that perfect shot!
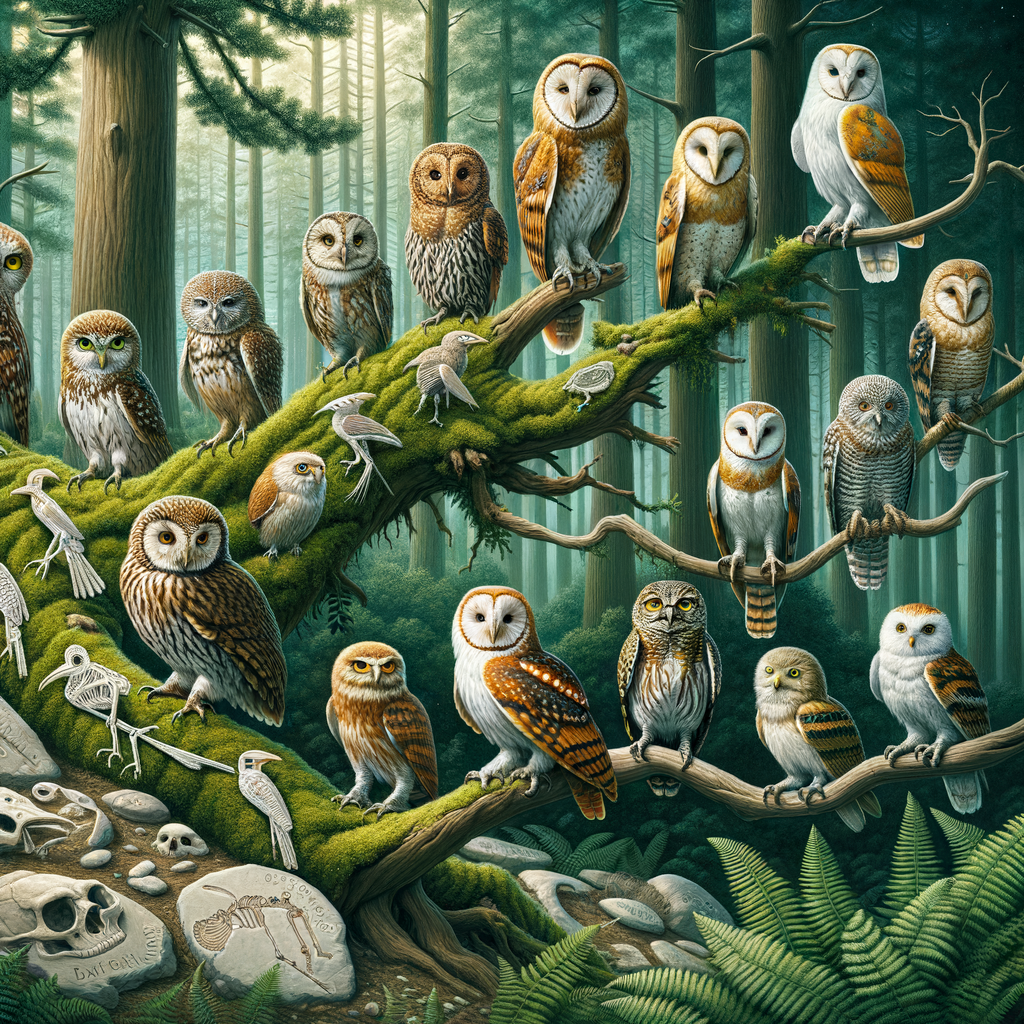
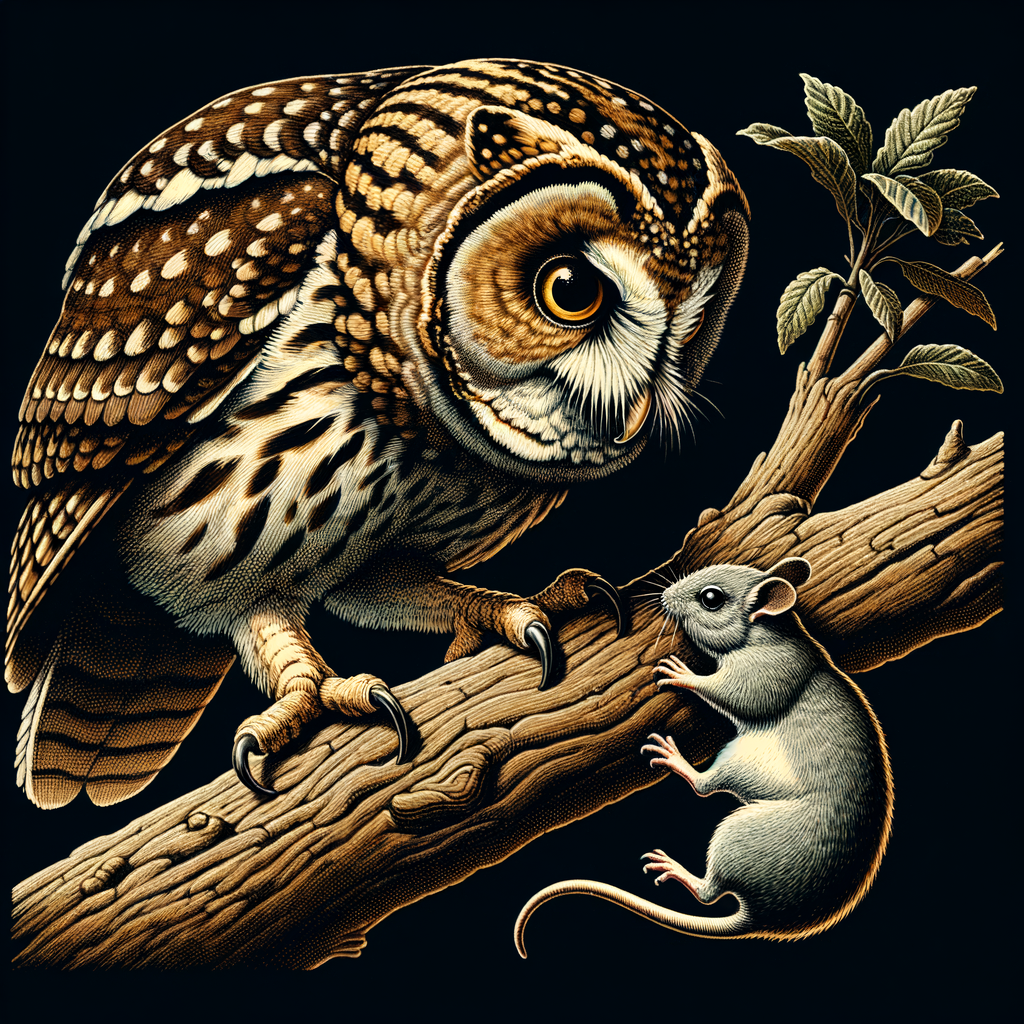
Owl Species Identification
Identifying the different species of owls can be a fun and rewarding experience. Not only does it give you a deeper appreciation for these majestic creatures, but it can also significantly enhance your owl photography. Let’s dive in!
- Identifying Different Species of Owls
There are over 200 species of owls worldwide, each with unique characteristics. Some of the most common ones include the Great Horned Owl, the Barn Owl, and the Snowy Owl. Here are a few tips to help you identify them:
- Size: Owls can range in size from the tiny Elf Owl, which is only about 5 inches tall, to the Great Gray Owl, which can reach up to 33 inches in height.
- Color: The color of an owl’s feathers can help camouflage them in their environment. For example, Snowy Owls are white to blend in with the snow, while Barn Owls are brown to blend in with tree bark and hay bales.
- Sound: Each owl species has a distinct call. Listening to these calls can be a great way to identify owls, especially at night when they are most active.
- How Species Identification Can Enhance Your Owl Photography
Knowing the different species of owls can greatly enhance your owl photography. Here’s how:
- Understanding Behavior: Different species of owls have different behaviors. For example, some owls are more active during the day, while others are more active at night. Knowing this can help you plan your photography sessions.
- Anticipating Movement: If you know the hunting habits of the owl species you’re photographing, you can anticipate their movements and capture stunning action shots.
- Improving Composition: Knowing the size and color of the owl species can help you compose your shots better. For example, a small, brightly colored owl might look best against a dark, neutral background.
So, the next time you’re out with your camera, take a moment to identify the owls you see. It might just take your owl photography to the next level!
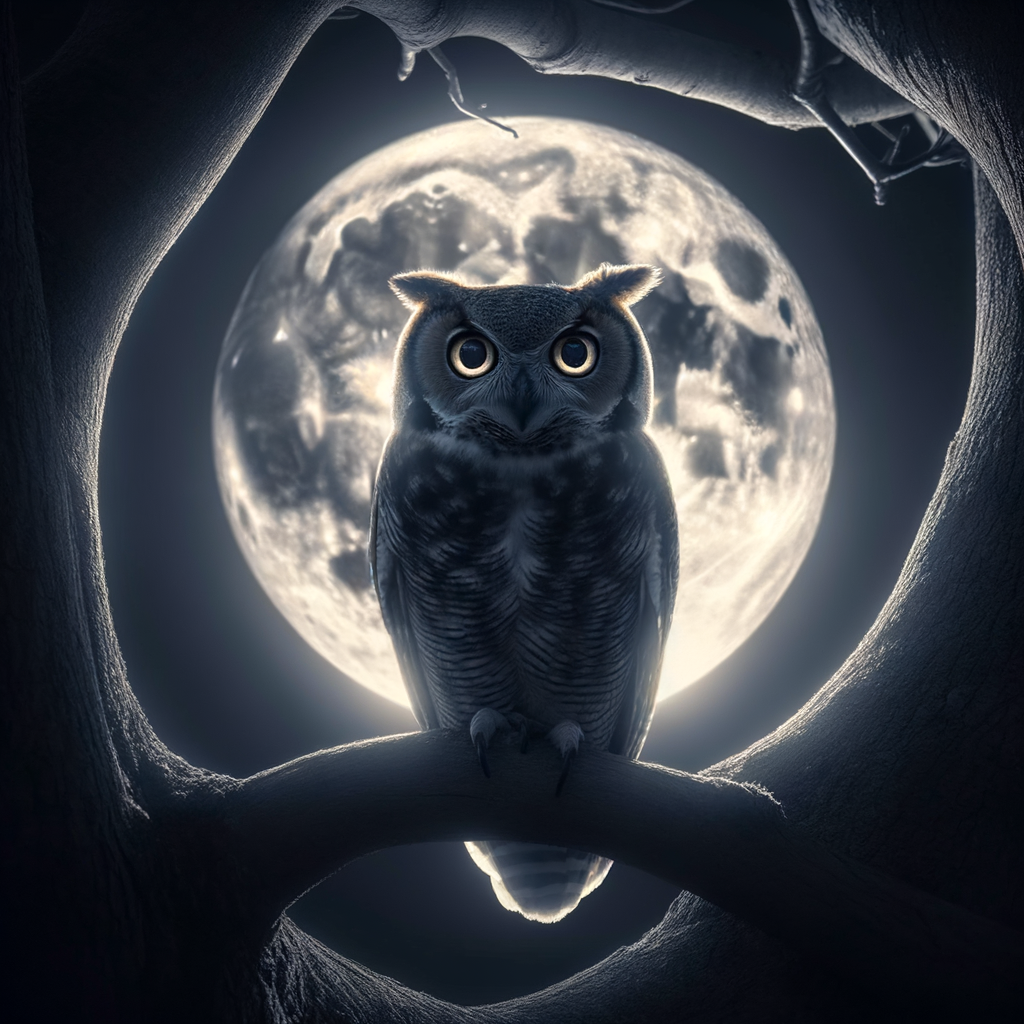
Nighttime Bird Photography
When the sun sets and the moon takes its place in the sky, a whole new world of bird photography opens up. Nighttime bird photography, particularly of owls, offers unique and stunning shots. But it also brings its own set of challenges and requires specific equipment. Let’s dive into the world of nocturnal bird photography.
Nocturnal Bird Photography
Photographing birds at night, especially owls, is a thrilling experience. The quiet of the night, the hooting of the owls, and the thrill of capturing these magnificent creatures in flight, it’s an adventure like no other. But it’s not without its challenges.
- Challenges of nighttime bird photography
- Equipment needed for capturing owls in flight at night
Photographing birds at night is not easy. The lack of light makes it difficult to focus and capture clear shots. Owls are fast and silent in flight, making them tricky subjects. Plus, you need to be aware of your surroundings for your safety and the birds’.
Good equipment is key to successful nighttime bird photography. A camera with high ISO capabilities, a fast lens, and a sturdy tripod are essential. A flashlight can help with focusing, and a remote shutter release can prevent camera shake. And don’t forget warm clothes and a good pair of boots!
Despite the challenges, the rewards of nighttime bird photography are immense. There’s nothing quite like the thrill of capturing an owl in flight under the moonlight. So grab your gear, head out into the night, and start snapping!
Wildlife Photography Techniques
One of the most exciting parts of owl photography is capturing them in flight. It’s not easy, but with the right techniques, you can get some stunning shots. Let’s dive into it!
Capturing Owls in Flight
When photographing owls in flight, two things are crucial: timing your shots correctly and using the right camera settings. Let’s break it down:
- Timing your shots for bird in flight photos
- Using the right settings for capturing owls in flight
- Shutter Speed: Use a fast shutter speed to freeze the action. A good starting point is 1/1000th of a second, but you may need to adjust depending on the light and the speed of the owl.
- Aperture: A wide aperture (low f-number) allows more light in, which is helpful in low light conditions. However, it also creates a shallow depth of field, so make sure the owl is in focus.
- ISO: You might need to increase your ISO in low light, but be aware that this can introduce noise into your photos. Try to keep it as low as possible.
Timing is everything when it comes to capturing owls in flight. Owls are most active during the twilight hours of dawn and dusk. This is when they’re hunting, and you’ll get the best shots of them in action. Be patient, and keep your eyes peeled for any movement. When you see an owl take off, that’s your cue to start shooting!
Camera settings can make or break your owl flight photos. Here are some tips:
Remember, practice makes perfect. Don’t be discouraged if your first few attempts aren’t successful. Keep trying, and you’ll get that perfect shot!
High-Speed Bird Photography
When it comes to capturing the swift and graceful flight of owls, high-speed photography is your best friend. It’s all about the right camera settings and a little bit of post-processing magic. Let’s dive into it!
- Camera settings for high-speed bird photography
- Shutter Speed: A fast shutter speed is crucial. Aim for at least 1/1000th of a second to freeze the action. The faster, the better!
- Aperture: A wide aperture (low f-number) allows more light in, which is especially helpful in low-light conditions. Try starting with f/5.6 or lower.
- ISO: Don’t be afraid to increase your ISO to maintain a fast shutter speed. Modern cameras handle high ISO levels quite well.
- Focus Mode: Use continuous autofocus (AI Servo for Canon, AF-C for Nikon) to keep the bird in focus as it moves.
- Post-processing techniques for owl flight photos
- Sharpening: Enhance the details of the owl’s feathers with a bit of sharpening. But be careful not to overdo it!
- Contrast and Brightness: Adjust these settings to bring out the owl’s features and the background. Again, moderation is key.
- Noise Reduction: If you had to use a high ISO, you might notice some graininess. Use noise reduction tools to smooth this out.
- Cropping: Don’t be afraid to crop your photos to highlight the owl and remove any distracting elements.
High-speed bird photography requires a camera that can keep up with the fast-paced action. Here are some key settings to consider:
Once you’ve captured your high-speed photos, it’s time to make them shine in post-processing. Here are some tips:
Remember, practice makes perfect. So, grab your camera, find a spot where owls frequent, and start shooting. Happy owl photographing!
Case Studies
Let’s dive into some real-life examples of owl photography. We’ll look at two different case studies that highlight the challenges and rewards of capturing these magnificent creatures on camera.
Successful Owl Photography Examples
- Case study 1: Capturing the perfect owl flight photo
- Case study 2: Overcoming challenges in nighttime bird photography
Meet John, a passionate wildlife photographer. John’s goal was to capture the perfect shot of an owl in flight. He knew that timing and patience were key. He spent hours observing owls, learning their flight patterns, and waiting for the perfect moment.
John’s efforts paid off when he captured a stunning image of a Great Horned Owl mid-flight. The owl’s wings were spread wide, and its eyes were focused intently on its prey. This photo not only showcased the owl’s beauty but also its power and precision.
John’s success can be attributed to his patience, his understanding of owl behavior, and his mastery of photography techniques. Learn more about the Great Horned Owl here.
Next, let’s look at Sarah’s experience. Sarah is a professional photographer who specializes in nighttime bird photography. She faced the challenge of photographing owls in low light conditions.
She used a high ISO setting to compensate for the lack of light, but this resulted in grainy images. To overcome this, she invested in a camera with a larger sensor and a lens with a wider aperture. This allowed her to capture clearer images, even in low light.
Despite the challenges, Sarah managed to capture some truly breathtaking images of owls at night. Her story shows that with the right equipment and techniques, you can overcome the challenges of nighttime bird photography. Learn more about Night Photography here.
These case studies show that with patience, understanding, and the right techniques, you can capture stunning images of owls. Whether you’re photographing them in flight or at night, the key is to understand their behavior and adapt your techniques accordingly.
Conclusion
Wow, what a hoot! We’ve taken a deep dive into the world of owl photography, understanding their flight patterns, and exploring the art of nighttime bird photography. We’ve also touched on some essential wildlife photography techniques and looked at some inspiring case studies. Now, let’s wrap things up with some key takeaways and next steps for your journey in wildlife photography.
- Key takeaways for mastering owl photography
- Continuing your journey in wildlife photography
Remember, patience is key when photographing owls. Spend time observing their behavior and understanding their patterns. Use a good quality camera with a long lens to capture stunning images from a distance. Nighttime is the best time to photograph owls, so make sure you’re comfortable with your camera’s low light settings. And finally, always respect the owls and their habitats.
Now that you’ve got the basics of owl photography down, why not broaden your horizons? There’s a whole world of wildlife out there waiting to be captured through your lens. Consider joining a local photography club or taking a wildlife photography course to further hone your skills. And remember, practice makes perfect. So, grab your camera and head out into nature – who knows what you’ll discover?
Whether you’re a seasoned pro or a budding amateur, there’s always something new to learn in the field of wildlife photography. So keep exploring, keep learning, and most importantly, keep snapping those beautiful owl photos. Happy shooting!