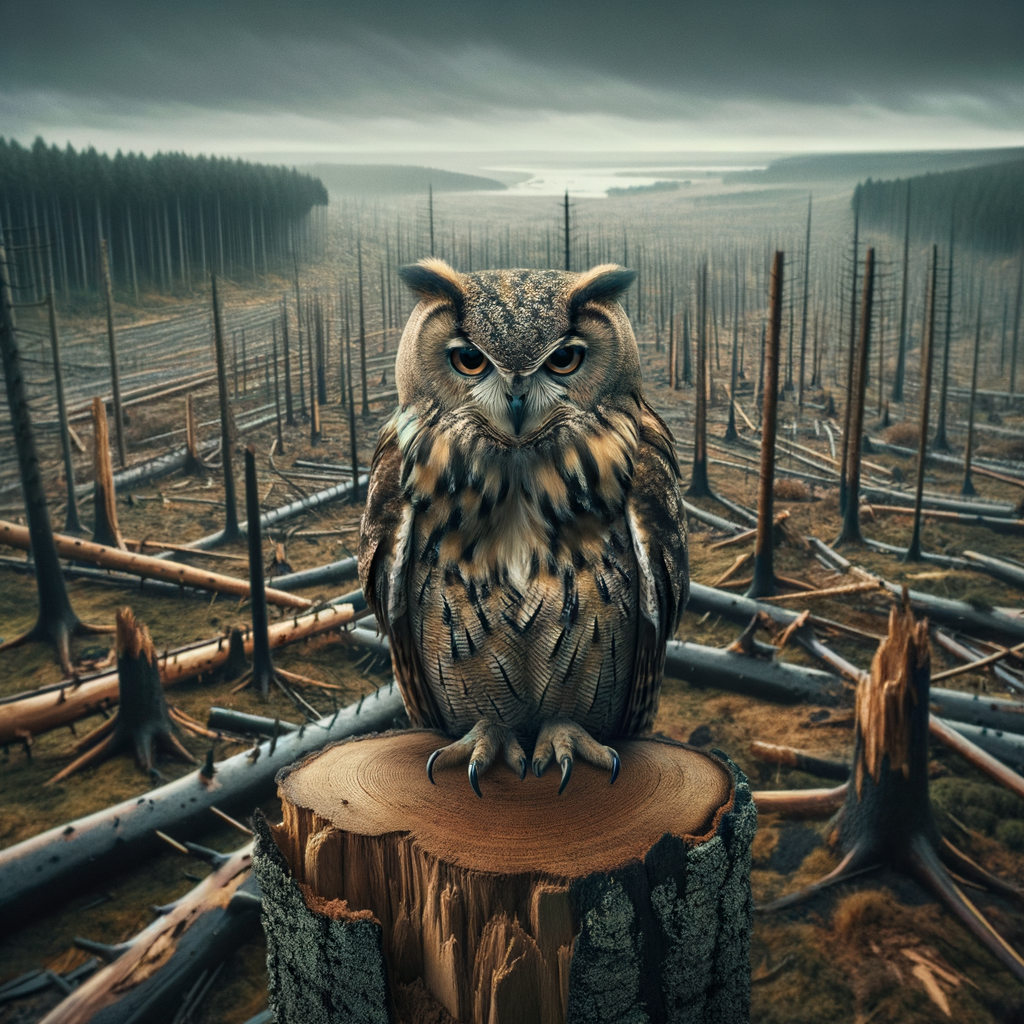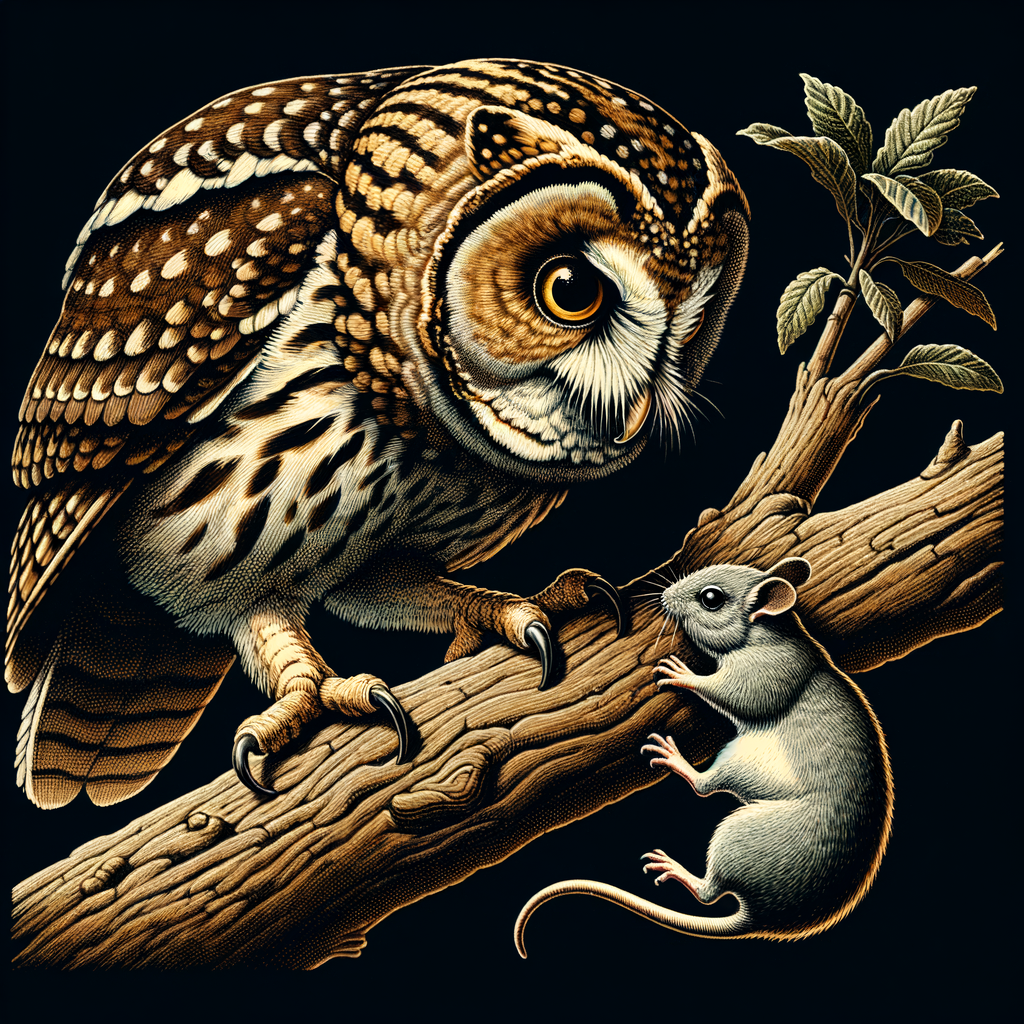
Introduction to Night Owl Photography
Have you ever wondered how to capture the mysterious beauty of owls at night? You’re in the right place! In this blog post, we’ll dive into the world of night owl photography. We’ll start with the basics of night photography and then explore why photographing owls at night is a unique and rewarding experience.
- Understanding the basics of night photography
- Why night owl photography is unique
Night photography is a type of photography that takes place in low-light conditions, usually outside after the sun has gone down. It’s all about capturing the beauty of the night sky, cityscapes, or in our case, the nocturnal life of owls. The key to good night photography is understanding how to use your camera settings to let in enough light. This often involves using a slower shutter speed, a higher ISO, and a wide aperture. Don’t worry if these terms sound confusing now, we’ll explain them in more detail later in the post. For now, just know that night photography is a fun and exciting way to explore the world after dark.
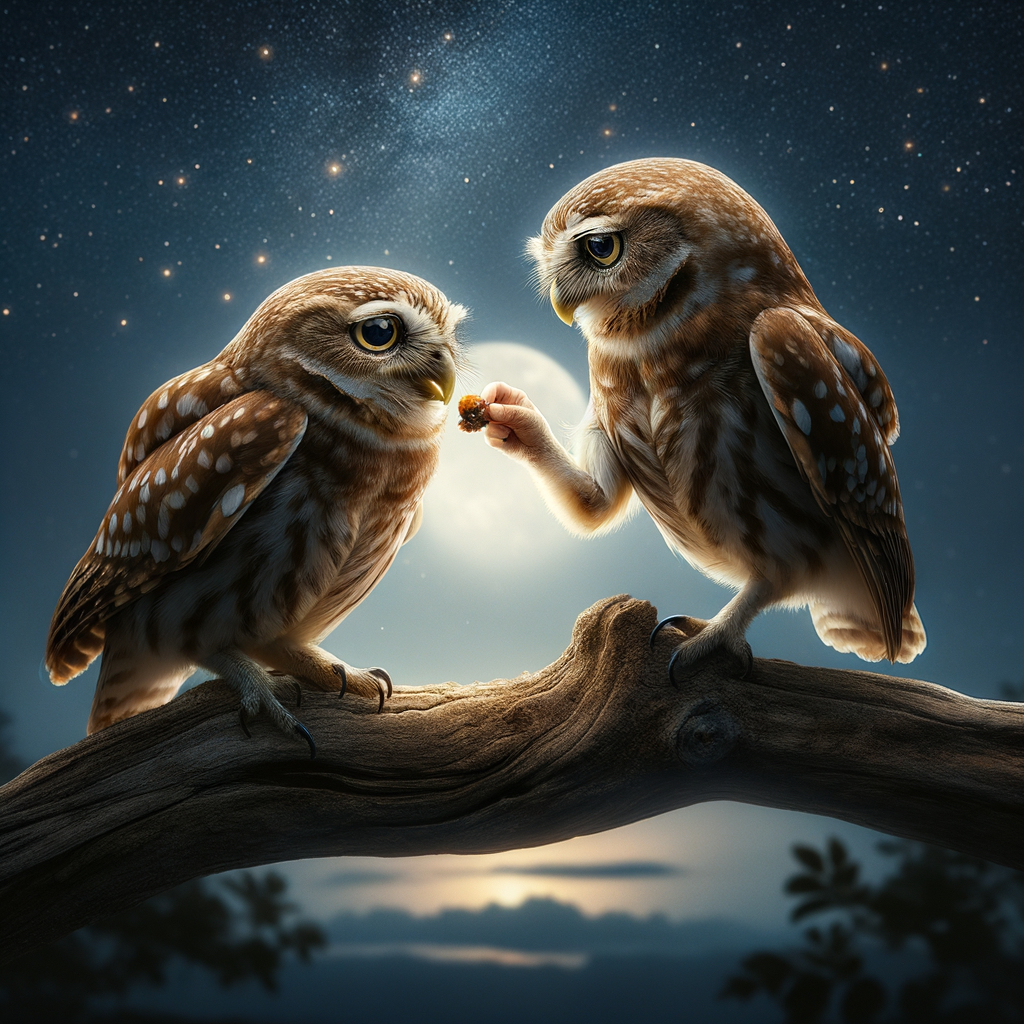
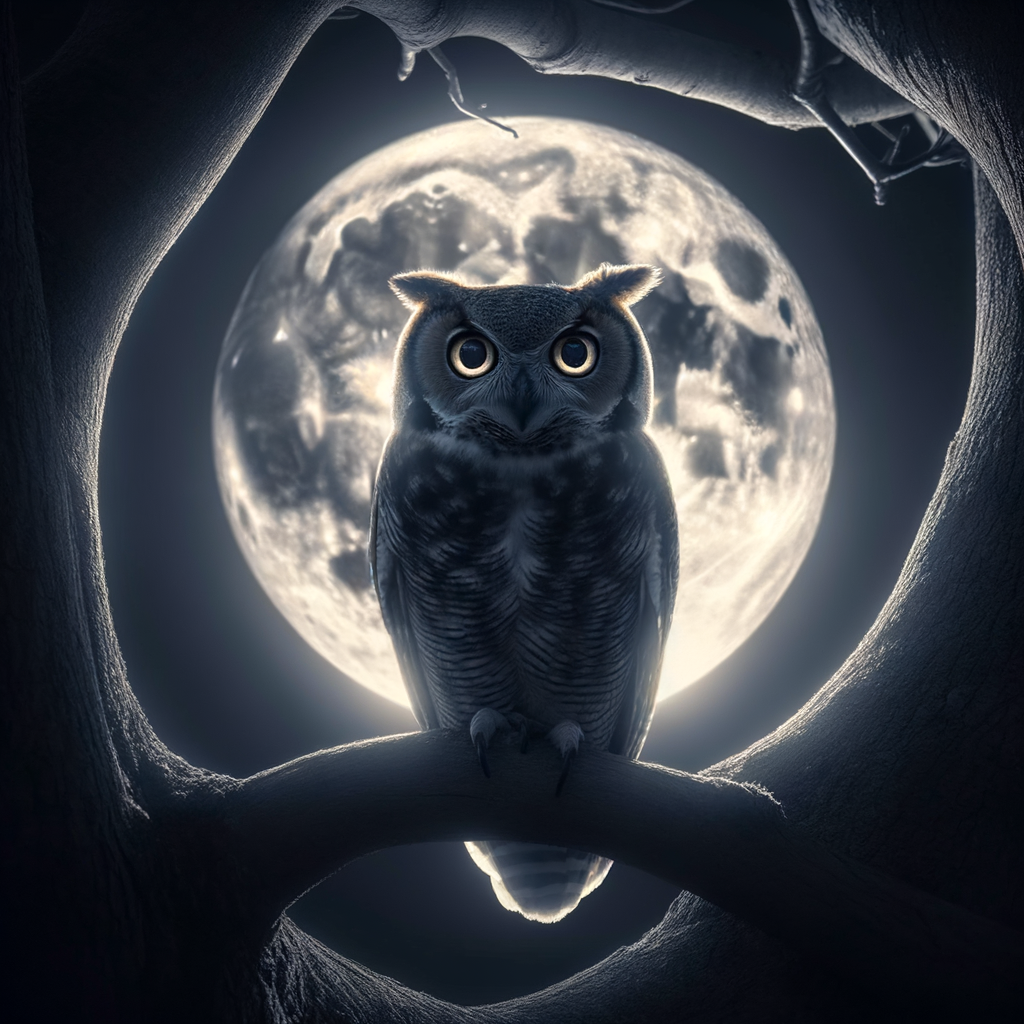
So, what makes night owl photography so special? Well, owls are nocturnal creatures, which means they’re most active during the night. This gives photographers a unique opportunity to capture these majestic birds in their natural habitat. Plus, photographing owls at night can result in some truly stunning images. The contrast between the darkness of the night and the glowing eyes of the owl can create a powerful and captivating photo. But remember, photographing wildlife, especially at night, requires patience and respect for the animals. Always keep a safe distance and try not to disturb the owls in their natural behavior.
So, are you ready to venture into the night and start capturing some amazing owl photos? Stick around as we dive deeper into the techniques, tips, and gear you’ll need for successful night owl photography.
Night Photography Techniques
When it comes to capturing the nocturnal world of owls, understanding the right photography techniques is key. One such technique is mastering exposure, especially in low light conditions.
Understanding Exposure
Exposure is the amount of light that reaches your camera sensor. It’s a crucial part of photography, but it becomes even more important when you’re shooting in the dark. Let’s dive into the importance of exposure in night photography and the concept of long exposure.
- Importance of exposure in night photography
- Long exposure night photography
Exposure is like the magic wand in night photography. It can turn a dark, unclear image into a stunning shot. It’s all about balancing the light. Too much exposure can wash out your image, making it too bright. Too little exposure, and your image will be too dark to see any details. The right exposure can bring out the details in the owl’s feathers, the twinkle in its eyes, and the texture of its surroundings. Learn more about exposure in photography here.
Long exposure photography is a fun and creative technique. It involves leaving the camera’s shutter open for a longer period, allowing more light to hit the sensor. This technique can create stunning effects in your owl photography. For instance, it can turn a starry sky into a beautiful, swirling backdrop for your owl subject. Or, it can illuminate the landscape, providing a clear view of the owl’s habitat. Remember, a sturdy tripod is a must when trying long exposure photography to avoid camera shake and ensure sharp images.
Understanding exposure is just the first step in mastering night photography. With practice and patience, you can capture stunning images of owls and their nocturnal world.
Focus Techniques
When it comes to night owl photography, focusing is key. It’s like trying to find a needle in a haystack, but instead of a needle, it’s an owl, and instead of a haystack, it’s the dark night sky. Let’s dive into two important focus techniques: manual focus vs auto focus and using hyperfocal distance.
- Manual focus vs auto focus in night photography
First, let’s talk about manual focus and auto focus. Auto focus is like having a little helper in your camera. It automatically adjusts the focus for you. This can be great during the day, but at night, your camera might struggle to find the right focus point.
That’s where manual focus comes in. With manual focus, you’re in control. You can adjust the focus just the way you want it. It might take a bit of practice, but it can lead to sharper images of our feathered friends in the night sky.
So, which one is better? Well, it depends on your comfort level and the specific conditions. If you’re a beginner, auto focus might be easier. But if you’re up for a challenge, give manual focus a try. You might be surprised at the results!
- Using hyperfocal distance for sharp images
Now, let’s talk about hyperfocal distance. This might sound like a fancy term, but it’s actually a simple concept. The hyperfocal distance is the closest distance at which a lens can be focused while keeping objects at infinity sharp.
When you’re photographing owls at night, you want to make sure they’re in sharp focus. By setting your lens to the hyperfocal distance, you can ensure that your owl subject and the background stars are all in focus.
So how do you find the hyperfocal distance? There are many online calculators and apps that can help. All you need to know is your lens focal length and aperture. With a bit of practice, using hyperfocal distance can take your night owl photography to the next level.
Night Sky Photography Tips
Are you ready to take your night sky photography to the next level? Then you’re in the right place! Let’s dive into the fascinating world of astrophotography.
Astrophotography Tips
Before we get started, it’s important to understand the basics of astrophotography and the equipment you’ll need. Let’s break it down.
- Understanding the basics of astrophotography
- Equipment needed for astrophotography
- A sturdy tripod: This is crucial for keeping your camera steady during long exposures.
- A DSLR or mirrorless camera: These cameras allow you to manually adjust settings like aperture, shutter speed, and ISO.
- A wide-angle lens: This helps capture more of the sky in your shot.
- A remote shutter release: This helps you avoid camera shake when pressing the shutter button.
Astrophotography is the art of capturing images of the night sky. It’s a blend of science and art, requiring both technical skills and a creative eye. The key is patience and practice. You’ll need to learn about the movement of the stars, the phases of the moon, and how to use your camera settings to capture the best shots.
Here’s a quick list of the essential gear you’ll need:
Remember, you don’t need the most expensive gear to start with. The best camera is the one you have!
With these tips and the right equipment, you’re well on your way to capturing stunning images of the night sky. Remember, practice makes perfect. So, get out there and start shooting!
Shooting Star Trails
Have you ever looked up at the night sky and wondered how you could capture the beauty of the stars? Well, you’re in luck! Today, we’re going to talk about shooting star trails, a fun and exciting way to photograph the night sky. So, grab your camera, and let’s get started!
- Setting up your camera for star trails
- First, find a dark location away from city lights. The darker the location, the better you’ll be able to see the stars.
- Next, set your camera on a sturdy tripod to prevent any movement.
- Set your camera to manual mode and adjust the ISO to a high setting, usually around 800-1600. This will make your camera more sensitive to light.
- Set your aperture (f-stop) to the lowest number, which will let in the most light.
- Finally, set your shutter speed to a long exposure, usually around 15-30 seconds. This will allow the camera to capture the movement of the stars as they move across the sky.
- Post-processing star trails images
- First, import your images into a photo editing software like Adobe Lightroom or Photoshop.
- Adjust the brightness and contrast to bring out the details in the stars.
- Use the noise reduction tool to remove any graininess caused by the high ISO setting.
- Finally, use the saturation and vibrance tools to enhance the colors in the sky.
Setting up your camera to shoot star trails is easier than you might think. Here are some simple steps you can follow:
Once you’ve captured your star trails, it’s time to make them shine in post-processing. Here’s how:
And there you have it! With these simple steps, you can capture the beauty of the night sky in your very own star trails images. So, what are you waiting for? Get out there and start shooting!
Night Photography Settings
When it comes to capturing the beauty of owls in the night, your camera settings are super important. Let’s dive in and learn more!
Camera Settings for Night Photography
There are a few key settings you need to understand to take great night photos. These include ISO, aperture, and shutter speed. Don’t worry if these sound like big words, we’ll break them down for you.
- Understanding ISO, aperture, and shutter speed
- Using the bulb mode for long exposures
ISO is like the camera’s sensitivity to light. The higher the ISO, the brighter your photo. But be careful! High ISO can also make your photos grainy. Aperture is like the camera’s eye. A wider aperture (lower number) lets in more light. Shutter speed is how long the camera’s ‘eye’ is open. Longer shutter speeds let in more light, but can make things look blurry if they move. For night owl photography, you might want to use a high ISO, wide aperture, and slow shutter speed. But remember, every situation is different, so feel free to experiment!
Ever seen those cool photos where the stars look like streaks across the sky? That’s done using long exposures. In bulb mode, the shutter stays open as long as you hold down the button. This lets you capture lots of light, perfect for night photos. Just make sure your camera is super steady, or your photo might turn out blurry.
Now that you know the basics, it’s time to get out there and start snapping some night owl photos. Remember, practice makes perfect, so don’t be discouraged if your first few shots don’t turn out exactly how you want them. Keep trying, and have fun!
Post-Processing Night Photos
After you’ve captured the perfect night shot of our feathered friends, the owls, it’s time to make those images really pop. This is where post-processing comes in. Let’s dive into how you can use software like Lightroom and Photoshop, and how to reduce noise in your night photos.
- Using software like Lightroom and Photoshop
Adobe’s Lightroom and Photoshop are two powerful tools that can transform your night owl photos into stunning pieces of art. Lightroom is excellent for organizing your photos and making global adjustments, while Photoshop is perfect for more detailed edits.
With Lightroom, you can adjust the exposure, contrast, and color balance of your photos. You can also crop your images, remove unwanted elements, and apply filters to enhance the mood of your night owl shots.
Photoshop, on the other hand, allows you to dive deeper into your edits. You can remove noise, sharpen your images, and even add elements that weren’t in the original shot. It’s like having a digital darkroom at your fingertips!
- Reducing noise in night photos
Noise is a common problem in night photography. It appears as random specks of color that can distract from your subject. But don’t worry, there are ways to reduce noise in your night owl photos.
Both Lightroom and Photoshop have noise reduction tools. In Lightroom, you can find this under the ‘Detail’ panel. Simply adjust the ‘Luminance’ slider until the noise is reduced. In Photoshop, you can use the ‘Reduce Noise’ filter which is found under the ‘Filter’ menu.
Remember, the key is to strike a balance. Too much noise reduction can make your photos look blurry or smudged. So, play around with the settings until you find what works best for your images.
Post-processing is a crucial part of night photography. It allows you to take your night owl photos to the next level. So, don’t be afraid to experiment and have fun with it!
Night Photography Ideas
When the sun goes down, the world doesn’t go to sleep. It just puts on a different face, one that’s perfect for night owls like us to capture with our cameras. Let’s dive into some night photography ideas, specifically focusing on night landscape photography.
Night Landscape Photography
Night landscape photography is all about capturing the beauty of the world after dark. It’s a chance to see familiar places in a whole new light. Here are a couple of tips to get you started:
- Choosing the right location for night landscapes
- Composing night landscape photos
Location is key in night landscape photography. It’s important to find a spot that’s not only beautiful, but also safe and accessible at night. Consider places with interesting natural features like trees, hills, or bodies of water. These can create stunning silhouettes against the night sky. Also, try to avoid areas with a lot of light pollution so you can capture the stars. Wikipedia has a great article on light pollution if you want to learn more.
Composition is just as important in night photography as it is during the day. Use the rule of thirds to balance your shot, placing points of interest along the lines or at their intersections. Don’t forget to include some foreground interest to give your photo depth. And remember, it’s okay to experiment! Try different angles and perspectives until you find what works best for your scene.
With these tips in mind, you’re ready to venture into the night and start capturing some amazing landscapes. So grab your camera, find a great spot, and let the night inspire you. Happy shooting!
Night Street Photography Tips
When the sun goes down, the city lights up, and the streets come alive in a whole new way. Night street photography can be a fun and rewarding way to capture the essence of your city. Here are a couple of tips to help you get started:
- Capturing the Essence of the City at Night
- Dealing with Artificial Lights in Street Photography
At night, the city transforms into a different place. The hustle and bustle of the day give way to quieter, more intimate moments. To capture the essence of the city at night, you need to look beyond the obvious. Look for the small details that tell a story – a dimly lit alleyway, a lone pedestrian, or the glow of a street lamp. These elements can add depth and interest to your photos.
Try to capture the mood of the city. Is it vibrant and energetic, or quiet and serene? Use your camera to tell the story of the city at night. And remember, practice makes perfect. The more you shoot, the better you’ll get at capturing the essence of the city.
Artificial lights can be a challenge in night street photography. They can create harsh shadows, blow out highlights, and give your photos an unnatural color cast. But with a few tricks, you can turn these challenges into opportunities.
First, try to use the artificial lights to your advantage. They can add drama and interest to your photos. For example, you can use the light from a neon sign to create a colorful glow, or the light from a street lamp to highlight a subject.
Second, learn how to control your camera’s settings to deal with artificial lights. You can use a slower shutter speed to capture more light, or a higher ISO to increase your camera’s sensitivity to light. You can also adjust your camera’s white balance to correct for color cast.
Finally, don’t be afraid to experiment. Try shooting from different angles, or using different settings. You might be surprised at the results.
Remember, night street photography is all about capturing the unique atmosphere and character of the city at night. So grab your camera, hit the streets, and start exploring!
Night Photography Gear
When it comes to capturing the magic of the night, especially our feathered friends who love the moonlight, the right gear can make all the difference. Let’s dive into the essential equipment you’ll need for night photography.
Essential Gear for Night Photography
There are two key pieces of equipment that every night owl photographer should have in their arsenal:
- Choosing the right camera and lens
- The importance of a sturdy tripod
First things first, you need a good camera. DSLRs and mirrorless cameras are great choices because they allow you to manually adjust settings like shutter speed, aperture, and ISO. These adjustments are crucial for night photography. When it comes to lenses, a fast lens (one with a wide aperture) is your best bet. This allows more light to reach your camera’s sensor, which is super important when you’re shooting in low light conditions. A lens with a wide focal length can also help you capture more of the night sky.
Next up is a sturdy tripod. Why is this so important? Well, when you’re shooting at night, you’ll need to use slower shutter speeds to let in enough light. But slower shutter speeds can lead to blurry photos if your camera moves even a tiny bit. That’s where a sturdy tripod comes in. It keeps your camera steady, ensuring your photos are sharp and clear. Plus, it can help you frame your shot just right, so you can capture the perfect image of a majestic owl in flight against the night sky.
So there you have it! With the right camera and lens, and a sturdy tripod, you’ll be well on your way to capturing stunning night owl photos. Stay tuned for more tips and tricks on night photography.
Additional Gear for Night Photography
Now that we’ve covered the basics, let’s dive into some additional gear that can take your night owl photography to the next level. These tools aren’t necessary for every shot, but they can definitely help in certain situations. Let’s explore!
- Using Remote Shutter Releases
Have you ever noticed that your photos come out a bit blurry, even when you’re using a tripod? That’s probably because you’re shaking the camera when you press the shutter button. This is where a remote shutter release comes in handy.
A remote shutter release is a device that allows you to take a photo without touching your camera. It’s like a remote control for your camera’s shutter. This means you can take a photo without causing any unwanted movement or vibration. It’s especially useful for night photography, where even the slightest shake can ruin a shot.
- The Role of Filters in Night Photography
Filters are like sunglasses for your camera. They control how much light enters your camera and can help you create some really cool effects. But did you know they can also be useful for night photography?
For instance, a light pollution filter can help reduce the orange glow from street lights and other artificial light sources. This can make the stars and the night sky look much clearer in your photos. Similarly, a neutral density filter can help you take longer exposures without overexposing your photo.
So, while filters might not be the first thing you think of for night photography, they can definitely play a big role!
Remember, the best gear for you depends on what you’re trying to achieve with your photography. So, don’t be afraid to experiment and see what works best for you. Happy shooting!
Low Light Photography Tips
Are you a night owl who loves photography? Then you’re in the right place! Let’s dive into some low light photography tips that will help you capture stunning images, even in the darkest of nights.
Understanding Light in Photography
Before we get into the tips, it’s important to understand the role of light in photography. Light can be your best friend or your worst enemy when it comes to capturing the perfect shot. So, let’s break it down.
- The role of natural and artificial light
- How to manipulate light for better photos
Natural light, like the moonlight or starlight, can create a beautiful, soft glow in your photos. On the other hand, artificial light, like street lamps or flashlights, can help you illuminate your subject in the dark. Both types of light have their advantages and can be used to create different effects.
Manipulating light is all about controlling how much light enters your camera and how it interacts with your subject. You can do this by adjusting your camera settings, using different lighting sources, or even using reflectors to bounce light onto your subject. Remember, practice makes perfect, so don’t be afraid to experiment!
Understanding and manipulating light can be tricky, but with a little practice, you’ll be capturing stunning low light photos in no time. So grab your camera, head out into the night, and start snapping away!
Overcoming Challenges in Low Light Photography
When the sun goes down, the owls come out to play. But capturing their beauty in low light can be tricky. Don’t worry, we’ve got you covered! Let’s dive into some common challenges and how to overcome them.
- Dealing with noise in low light photos
- Lower your ISO: ISO controls your camera’s sensitivity to light. A higher ISO means more light, but also more noise. Try to keep your ISO as low as possible.
- Shoot in RAW: RAW files contain more data than JPEGs, which can help reduce noise. Plus, they give you more flexibility when editing!
- Use noise reduction software: There are many great tools out there, like Adobe Lightroom, that can help you reduce noise in post-processing.
- Using flash in low light photography
- Use a diffuser: This softens the light from your flash, reducing harsh shadows.
- Try off-camera flash: By moving your flash off-camera, you can control the direction and quality of the light.
- Experiment with flash power: Too much flash can wash out your subject. Try lowering your flash power for a more natural look.
Ever noticed those tiny, grainy spots in your low light photos? That’s called ‘noise’, and it can be a real hoot to deal with. But don’t fret! There are a few ways to reduce noise:
Flash can be a great way to light up your subject in low light. But it can also create harsh shadows and scare away our feathered friends. Here are some tips for using flash effectively:
Remember, practice makes perfect. So don’t be discouraged if your first few shots don’t turn out as expected. Keep experimenting, and you’ll be capturing stunning owl photos in no time!