Introduction to Owl Photography
Have you ever wondered how photographers capture those stunning images of owls? Well, it’s not as simple as pointing and shooting. Owl photography requires a good understanding of the basics and a keen eye for lighting. Let’s dive into it!
- Understanding the basics of owl photography
- Importance of lighting in wildlife photography
Owl photography, like any other form of wildlife photography, requires patience and practice. Owls are nocturnal creatures, which means they’re most active during the night. This can make photographing them a bit tricky. You’ll need to learn about their habits and habitats, and be prepared to spend long hours in the field, often in low light conditions. But don’t worry, the results are worth it!
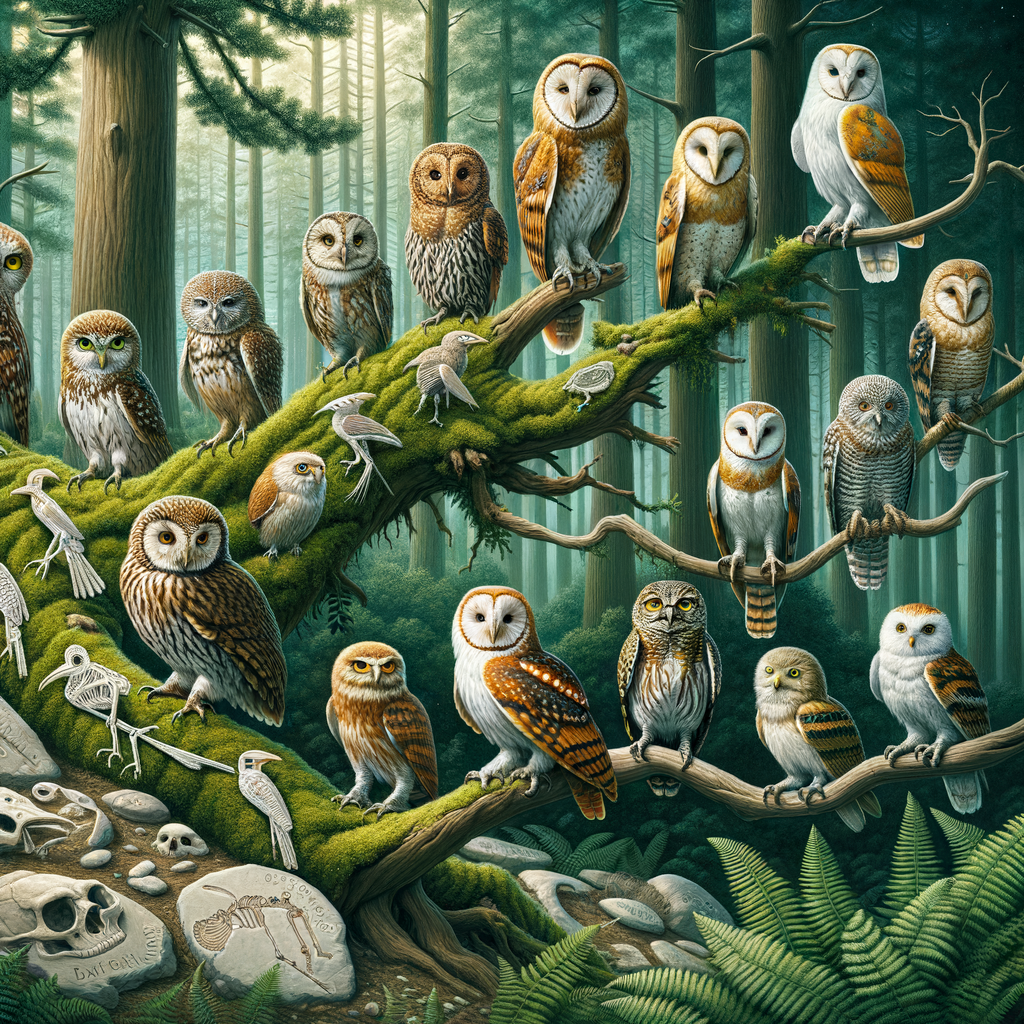
One of the first things you need to understand is that not all owls are the same. There are different species of owls, each with their own unique characteristics. For example, the Great Horned Owl is known for its large size and tufted ears, while the Barn Owl has a distinctive heart-shaped face. Knowing these differences can help you identify your subject and plan your shots accordingly.
Lighting plays a crucial role in wildlife photography. It can make or break your photos. In owl photography, you’re often working with low light conditions, which can be challenging. But with the right techniques, you can use this to your advantage to create dramatic and atmospheric images.
One technique is to use the natural light available. For example, during the ‘golden hours’ – the hour after sunrise and the hour before sunset – the light is soft and warm, which can add a beautiful glow to your images. Another technique is to use a flash, but this should be done carefully to avoid startling the owl or creating harsh shadows.
Remember, the goal is to capture the owl in its natural environment, so try to keep your lighting as natural as possible. This might take some trial and error, but the more you practice, the better you’ll get.
So, are you ready to venture into the world of owl photography? Remember, it’s all about patience, practice, and understanding your subject. Happy shooting!
Owl Photography Tips
Hey there, fellow owl enthusiasts! Today, we’re going to dive into some handy tips for photographing our feathered friends. Let’s start with the preparation for an owl photo shoot.
Preparation for an Owl Photo Shoot
Before you start snapping away, there are a few things you need to do. Let’s break it down:
- Scouting the location: Knowing where to find owls is the first step. Owls are nocturnal creatures, so they’re most active at night. Look for places with plenty of trees and minimal light pollution. You can also check out Wikipedia for more information about owl habitats.
- Understanding owl behavior: Owls are fascinating creatures with unique behaviors. For example, they can rotate their heads up to 270 degrees! Understanding their behavior will help you anticipate their movements and capture stunning photos. You can learn more about owl behavior on Wikipedia.
- Choosing the right equipment: A good camera and lens are crucial for owl photography. A camera with a fast autofocus and a lens with a long focal length will help you capture sharp, detailed images. Don’t forget a sturdy tripod to keep your camera steady!
Preparation is key in owl photography. By scouting the location, understanding owl behavior, and choosing the right equipment, you’ll be well on your way to capturing some amazing owl photos. Stay tuned for more tips and tricks!
Techniques for Photographing Owls
Getting that perfect shot of an owl can be a bit tricky, but with the right techniques, you can capture stunning images. Here are some top tips to help you out:
- Timing and Patience
- Positioning and Angle
- Focus and Composition
Photographing owls is all about timing and patience. Owls are mostly active during dawn and dusk, so these are the best times to photograph them. But remember, good things come to those who wait. You might need to spend hours waiting for the perfect shot, so bring a book or some music to pass the time. Wikipedia has some great information about owl behavior that can help you understand when they’re most likely to be active.
Positioning is key in owl photography. Try to position yourself at eye level with the owl for a more intimate and engaging shot. The angle is also important. Experiment with different angles to find the one that best highlights the owl’s features. Remember, the best shots often come from unexpected angles!
When photographing owls, focus on the eyes. The eyes are the most expressive part of an owl and can really make your photo stand out. As for composition, try to include some of the owl’s habitat in the shot. This can give context to the photo and make it more interesting. And don’t forget the rule of thirds. This basic principle of photography can help you create well-balanced and interesting shots.
With these techniques in mind, you’re well on your way to capturing some amazing owl photos. Happy shooting!
Lighting Techniques for Bird Photography
When it comes to bird photography, and especially owls, the right lighting can make all the difference. Let’s dive into how you can use natural light to capture stunning photos.
Natural Light
Natural light is a photographer’s best friend. It’s free, abundant, and can create some of the most beautiful effects. Here are some ways you can use natural light in your bird photography.
- Utilizing sunrise and sunset
- Overcast conditions
- Shadow and contrast
The golden hours, that is, sunrise and sunset, are the best times for bird photography. The soft, warm light during these times can add a magical touch to your photos. Plus, owls are most active during these times, making it the perfect opportunity to capture them in action.
Don’t be discouraged by a cloudy day. Overcast conditions can provide soft, diffused light that’s perfect for bird photography. It eliminates harsh shadows and allows for more detail in your photos. Next time it’s cloudy, grab your camera and head out for some bird photography.
Shadows can add depth and drama to your bird photos. Use the contrast between light and dark to highlight the bird and make it stand out. Remember, photography is all about playing with light and shadow, so don’t be afraid to experiment.
Mastering natural light can take your bird photography to the next level. So, the next time you’re out with your camera, pay attention to the light and see how you can use it to your advantage.
Artificial Light
When Mother Nature doesn’t provide enough light, don’t worry! We can create our own with artificial light. Let’s explore some techniques that can help us capture stunning owl photos even in low-light conditions.
- Flash Techniques for Owl Photography
- Using Reflectors
- Lighting Setups for Bird Photography
Using a flash can help illuminate our feathered friends, especially during the night. But remember, sudden bright lights can scare owls. So, it’s best to use a technique called slow-sync flash. This combines a longer shutter speed with a burst of flash. The result? A well-lit owl against a nicely exposed background. Cool, right?
Reflectors are another great tool for owl photography. They bounce light onto the owl, filling in shadows and highlighting details. Silver reflectors create a bright, crisp light, while white ones give a softer glow. Experiment with both to see which effect you like best!
Setting up lights for bird photography can be a bit tricky, but don’t worry, we’ve got you covered. A popular setup is the three-point lighting. This uses three light sources: the key light (main light), fill light (balances the key light’s shadows), and back light (creates depth). This setup helps to showcase the owl’s features and creates a 3D effect.
Remember, practice makes perfect. Don’t be afraid to experiment with different flash techniques, reflectors, and lighting setups. Happy owl photography!
Night Owl Photography
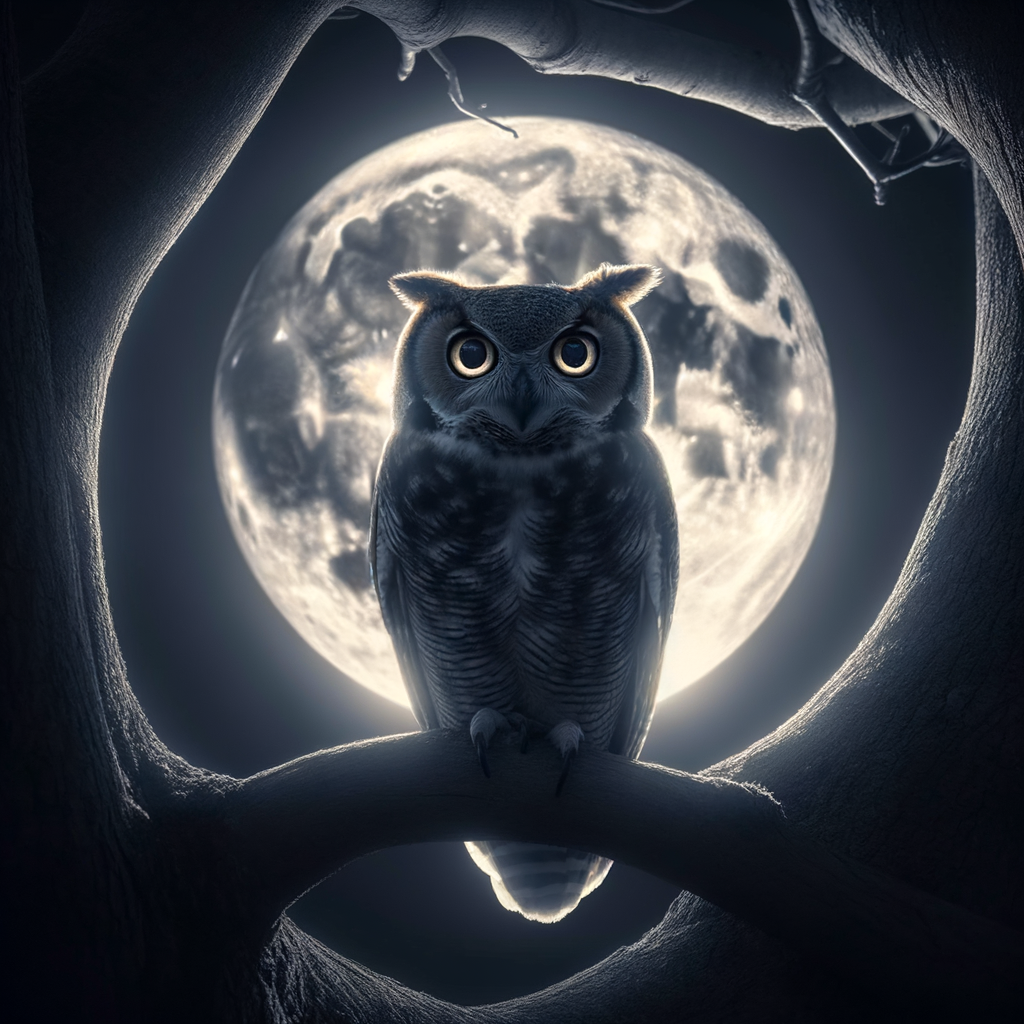
When the sun goes down, the owls come out to play. And that’s when we grab our cameras to capture their beauty in the moonlight. But night owl photography can be a bit tricky, especially in low light conditions. Let’s dive into it!
Owl Photography in Low Light
Low light can make or break your owl photography. But with the right knowledge and techniques, you can turn it into an advantage. Here’s how:
- Understanding low light conditions
- Camera settings for low light
- Using flash in low light
Low light conditions occur when the sun is below the horizon, like during twilight or night. It’s important to understand that low light doesn’t mean no light. There’s always some light available, whether it’s from the moon, stars, or artificial sources. The key is to know how to use it to your advantage. Low-key lighting can create dramatic and moody images, perfect for capturing the mysterious nature of owls.
When shooting in low light, you’ll need to adjust your camera settings. Increase your ISO to make your camera more sensitive to light, but be careful not to go too high as it can cause noise. Open up your aperture to let in more light, and slow down your shutter speed, but be aware this can cause motion blur. It’s all about finding the right balance.
Using a flash can help illuminate your subject in low light. But be careful not to startle the owl or wash out the image. A good technique is to use a diffused flash or an off-camera flash. This can give you more control over the lighting and create a more natural look.
Remember, practice makes perfect. Don’t be discouraged if your first few shots don’t turn out as expected. Keep experimenting with different settings and techniques, and soon you’ll be capturing stunning night owl photos!
Professional Owl Photography Tips
Whether you’re a seasoned pro or just starting out, these owl photography tips are sure to help you capture stunning shots of these majestic creatures. Let’s dive in!
-
Long Exposure Techniques
Long exposure is a fantastic technique to capture the beauty of owls in flight, especially at night. It involves leaving your camera’s shutter open for a longer period of time, allowing more light to enter. This results in a bright, clear image, even in low light conditions. A tripod is a must to keep your camera steady during the long exposure. Remember, practice makes perfect with this technique!
-
Using Noise Reduction
When shooting in low light, you might notice some graininess or ‘noise’ in your photos. Don’t worry, there’s a solution for that! Most modern cameras have a noise reduction feature. This helps smooth out the image and reduce the graininess. If your camera doesn’t have this feature, you can also reduce noise in post-processing with software like Adobe Lightroom.
-
Post-Processing Tips for Night Photography
Post-processing is where the magic happens in night photography. Here are a few tips to get you started:
- Adjust the brightness and contrast to bring out the details in your owl photos.
- Play around with the white balance to get the colors just right.
- Don’t be afraid to crop your photos to focus on the owl.
Remember, the goal of post-processing is to enhance your photos, not to completely change them. Keep it natural!
With these professional owl photography tips, you’re well on your way to capturing some truly stunning owl photos. Happy shooting!
Case Studies
Let’s dive into the world of owl photography through the lens of some successful photographers and their stories. We’ll also tackle some common challenges that photographers face and how they overcome them.
-
Success stories of professional owl photographers
One of the most inspiring stories is that of John and Karen Hollingsworth. This dynamic duo has been photographing owls for over 20 years. They started with a simple point-and-shoot camera and gradually upgraded to professional DSLR cameras. Their passion for owls and dedication to capturing their beauty has led to their work being featured in numerous nature magazines and exhibitions.
Another great example is Art Wolfe. Art is renowned for his stunning bird photography, particularly owls. He’s known for his patience and ability to capture owls in their natural habitat, often waiting for hours to get the perfect shot. His work has been recognized globally, and he continues to inspire budding photographers.
-
Common challenges and solutions in owl photography
Photographing owls is not without its challenges. One of the most common issues is lighting. Owls are nocturnal creatures, which means they’re most active at night when lighting is poor. To overcome this, photographers often use flash extenders or high ISO settings.
Another challenge is the owls’ elusive nature. They can be hard to spot and even harder to photograph. A solution to this is to learn about their behavior and habitat. This knowledge can help photographers anticipate where owls might be and when they’re most likely to be active.
Lastly, owls can be scared off by the noise of the camera shutter. To combat this, some photographers use silent shutter modes or remote triggers to minimize disturbance.
In conclusion, owl photography is a challenging yet rewarding field. With patience, knowledge, and the right equipment, anyone can capture stunning images of these magnificent creatures.
Conclusion
Wow, what a hoot we’ve had exploring the world of owl photography! Let’s wrap up with some key takeaways and resources for continued learning.
- Key takeaways
- Patience is key in owl photography. Owls are nocturnal and elusive, so it may take time to capture the perfect shot.
- Lighting is crucial. Remember to use the golden hours for natural light, and consider using flash for night photography.
- Study your subject. The more you know about owls and their behavior, the better your photos will be.
- Practice makes perfect. Don’t be discouraged if your first few shots aren’t perfect. Keep trying!
- Continued learning resources
- Wikipedia’s page on Bird Photography: This is a great starting point for understanding the basics of bird photography.
- Wikipedia’s page on Owls: Learn more about these fascinating creatures and their behaviors.
Here are the most important things to remember:
Want to dive deeper into owl photography? Here are some resources to check out:
Remember, the most important thing is to enjoy the process. Happy owl photographing!