Owl Photography Tips: Getting Started
Are you ready to dive into the world of owl photography? Well, you’re in the right place! Here, we’re going to cover some of the basics to get you started. Let’s go!
- Understanding the basics of owl photography
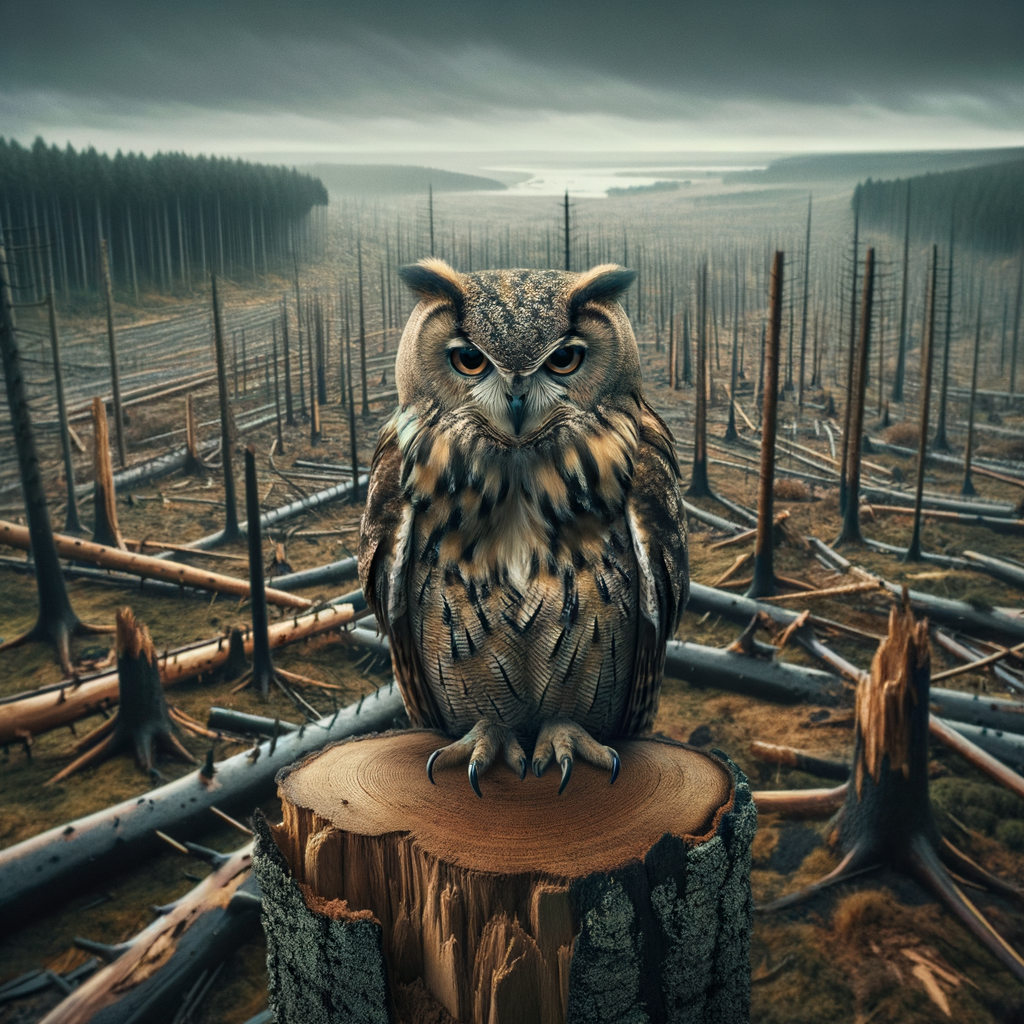
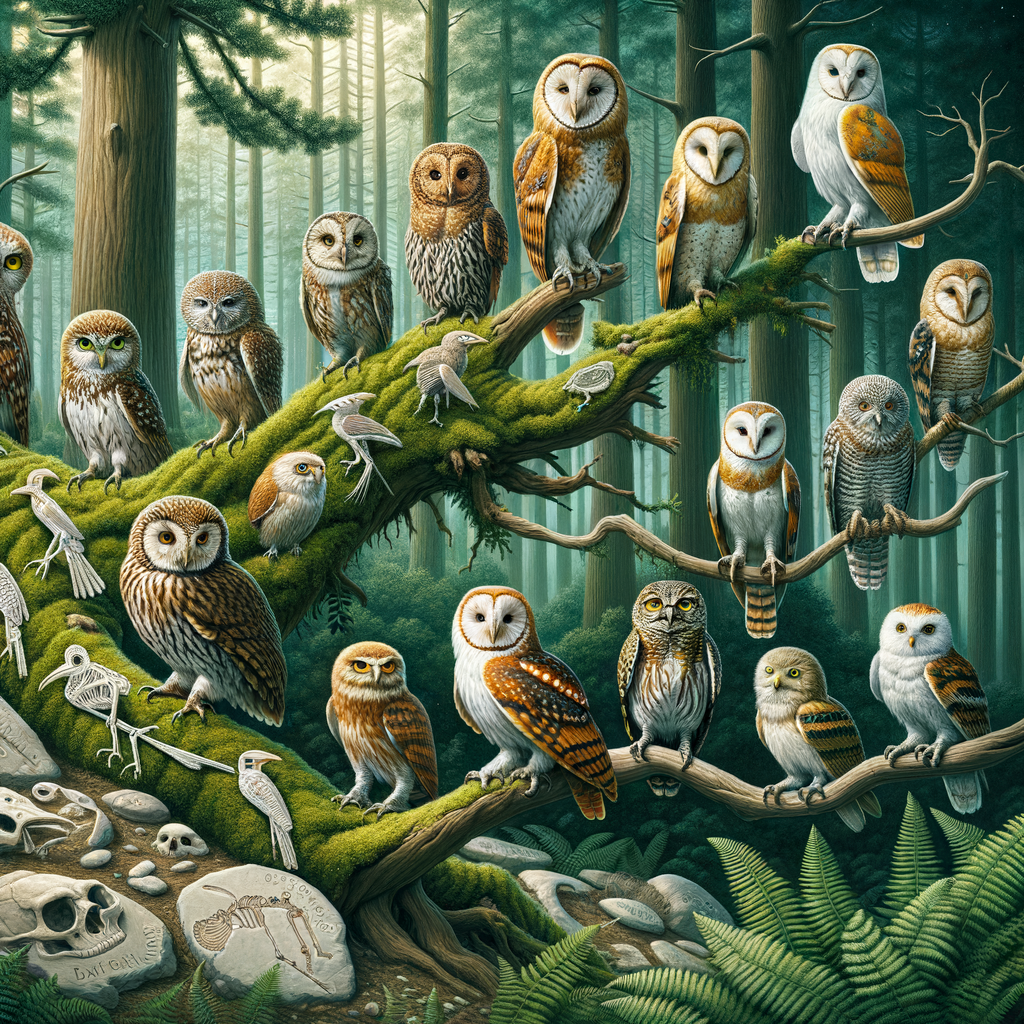
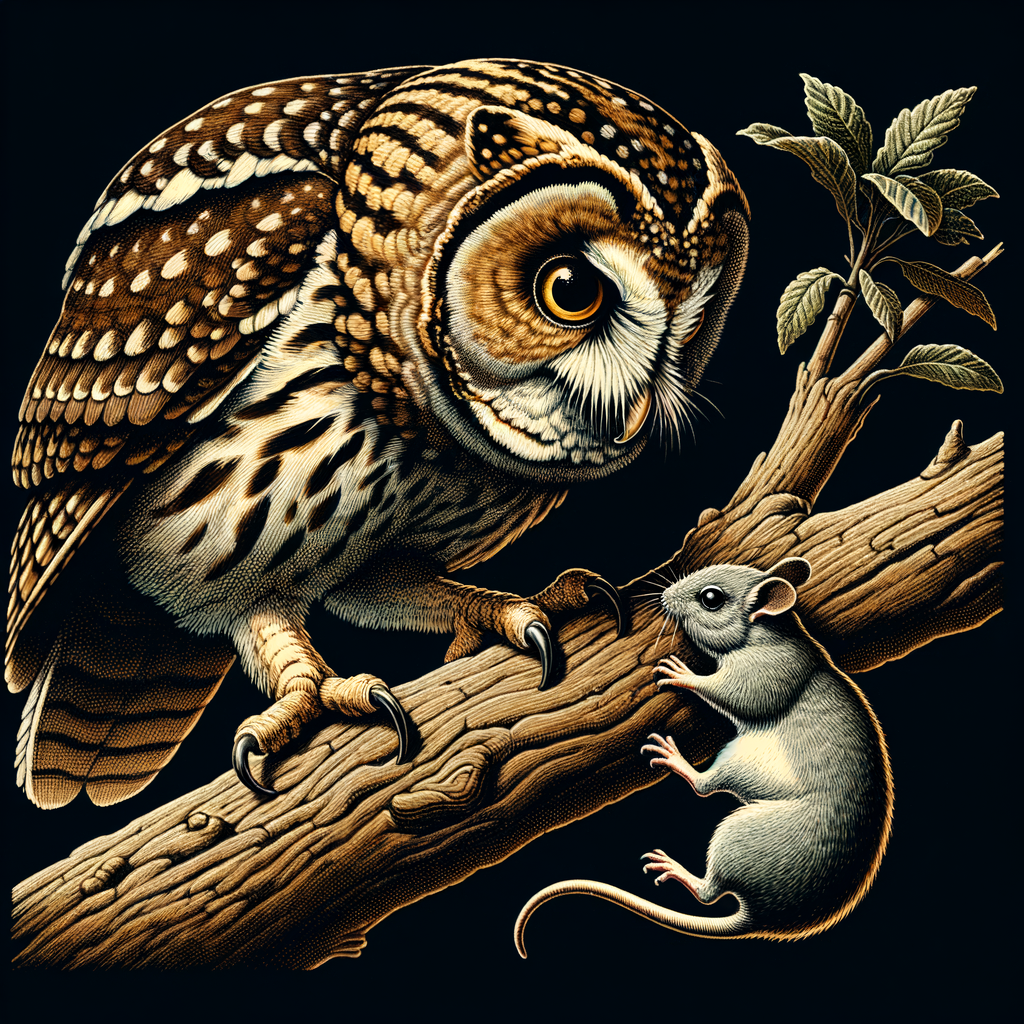
First things first, owl photography is a bit different than your typical bird photography. Owls are nocturnal creatures, meaning they’re most active during the night. This can make photographing them a bit tricky, but don’t worry, we’ve got some tips to help you out. Understanding your subject is key in photography, and owls are no different. Did you know that there are about 200 different species of owls? Each one has its own unique behaviors and habitats, which can affect how you approach photographing them. Here is a great resource to learn more about different owl species.
- Choosing the right time and place
As we mentioned before, owls are most active at night. This means that the best time to photograph them is usually around dusk or dawn. As for the place, owls can be found in a variety of habitats, from forests to deserts. It’s important to do your research and find out where the owls in your area like to hang out. Remember, patience is key in wildlife photography. You might not spot an owl on your first few tries, but don’t give up!
- Respecting the wildlife
Lastly, but certainly not least, it’s crucial to respect the wildlife when you’re out photographing. This means keeping a safe distance from the owls and not disturbing their natural behaviors. Remember, we’re visitors in their home. It’s also a good idea to follow any local laws or regulations regarding wildlife photography. This way, we can ensure that we’re not only getting great photos, but also protecting these amazing creatures for future generations to enjoy.
Alright, that’s it for the basics! Stay tuned for more tips and tricks on owl photography. Happy shooting!
Owl Photography Techniques: Capturing the Perfect Shot
Getting that perfect shot of an owl isn’t just about having the right camera or being in the right place at the right time. It’s also about understanding the behavior of these magnificent creatures. Let’s dive into this fascinating world!
Understanding Owl Behavior
Before you start snapping away, it’s crucial to get to know your subject. Understanding owl behavior can greatly improve your chances of capturing that perfect shot.
- Studying owl habits and habitats
- Observing without disturbing
Did you know that owls are nocturnal creatures? They’re most active at night, hunting for food and taking care of their young. Some owls, like the Snowy Owl, are more active during the day. Knowing when your owl is most active can help you plan your photography sessions. Also, understanding where owls live – in trees, caves, or even on the ground – can help you find the perfect spot to set up your camera.
Remember, we’re visitors in the owl’s world. It’s important to observe without disturbing their natural behavior. Keep a respectful distance and avoid making loud noises. Not only will this keep the owls comfortable, but it will also allow you to capture more natural and authentic photos.
By understanding owl behavior, you’ll be better equipped to capture stunning photos that truly showcase the beauty and majesty of these creatures. So grab your camera, do your research, and get ready to take some amazing owl photos!
Mastering the Art of Patience
When it comes to owl photography, patience isn’t just a virtue, it’s a necessity. Owls are mysterious and elusive creatures, and capturing the perfect shot requires a lot of waiting and embracing the process. Let’s dive into these two essential aspects of patience in owl photography.
- Waiting for the Perfect Moment
- Embracing the Process
Photographing owls is a waiting game. These birds are nocturnal, meaning they’re most active during the night. Therefore, you might have to spend hours in the dark, waiting for that perfect moment when the owl swoops down to catch its prey or takes off in flight. According to a Wikipedia article, owls have a variety of behaviors that are fascinating to capture, but these moments are fleeting. It’s all about being patient and ready to snap the shot when the opportunity arises.
Patience in owl photography also involves embracing the process. It’s not just about the end result, but also about the journey. You’ll learn a lot about owls and their habits, and you’ll get to spend time in nature, which can be a rewarding experience in itself. Remember, every time you go out with your camera, you’re gaining experience and improving your skills, even if you don’t get the perfect shot every time.
In conclusion, mastering the art of patience in owl photography involves waiting for the perfect moment and embracing the process. It might take time, but the results will be worth it. So, grab your camera, head out into the night, and let the owls be your guide.
Wildlife Photography Settings: A Focus on Owls
When it comes to capturing the beauty of owls in their natural habitat, understanding your camera settings is crucial. Let’s dive into the three main settings you need to know: shutter speed, aperture, and ISO.
Understanding Camera Settings
Before we get into the specifics of owl photography, it’s important to understand the basics of your camera settings. These settings control how your camera captures light and how it affects your photos.
- Shutter Speed
- Aperture
- ISO
The shutter speed is how long your camera’s shutter is open. It’s like blinking – the longer your eyes are open, the more you see. In photography, a faster shutter speed can freeze action, while a slower one can create a blur effect. This is especially important when photographing owls, as they can move quickly and unpredictably.
The aperture is like the pupil of your eye. It controls how much light enters the camera. A larger aperture (smaller f-number) lets in more light and creates a shallow depth of field, which can blur the background. A smaller aperture (larger f-number) lets in less light and creates a greater depth of field, keeping more of the scene in focus.
ISO is your camera’s sensitivity to light. A lower ISO number means less sensitivity and is ideal for bright conditions. A higher ISO can brighten your photo but may also add more noise or grain. When photographing owls, you may need to adjust your ISO depending on the lighting conditions.
Understanding these settings is the first step to taking great owl photos. In the next section, we’ll discuss the best settings for owl photography.
Best Settings for Owl Photography
Hey there, owl enthusiasts! Let’s dive into the best camera settings for capturing those stunning owl shots. We’ll talk about the recommended shutter speed, aperture, and ISO. Don’t worry if these terms sound a bit technical, we’ll break them down in a simple way.
- Recommended Shutter Speed
- Recommended Aperture
- Recommended ISO
Shutter speed is all about how long your camera’s shutter is open. For owl photography, we suggest a fast shutter speed. This helps to freeze the action, especially when owls are in flight. A good starting point is 1/1000th of a second. But remember, the faster the shutter speed, the less light gets in, so you’ll need to balance this with your other settings.
Aperture is like the eye of your camera. It controls how much light gets in. For owl photography, a wide aperture (like f/2.8 or f/4) is usually best. This allows more light in and also gives you that lovely blurred background effect, making the owl stand out.
ISO is like the sensitivity of your camera to light. For owl photography, especially in low light conditions like dusk or dawn, you might need a higher ISO. Start with ISO 800 and adjust as needed. But be careful, higher ISO can lead to grainy photos, so it’s a bit of a balancing act.
Remember, these are just starting points. Every situation is different, so feel free to experiment and find what works best for you. Happy owl photographing!
Bird Photography Settings: A Deeper Dive
Hey there, owl enthusiasts! Let’s take a deeper dive into the world of bird photography and learn how to adjust our camera settings to capture the perfect shot of different bird species.
- Understanding the unique challenges of bird photography
- Adjusting settings for different bird species
Photographing birds can be a bit tricky. They’re fast, unpredictable, and often found in challenging lighting conditions. But don’t worry! With a bit of practice and the right settings, you can overcome these challenges.
One of the biggest challenges is getting a sharp, clear image. Birds are often on the move, which means you’ll need a fast shutter speed to freeze their motion. A good starting point is 1/1000th of a second, but you may need to go even faster for birds in flight.
Another challenge is lighting. Birds are often backlit, which can make them appear dark and lacking in detail. To combat this, try using exposure compensation to brighten your image.
Each bird species is unique, and so are their photography needs. Let’s take a look at how you might adjust your settings for different types of birds.
For small, fast birds like sparrows or hummingbirds, you’ll need a very fast shutter speed. Try starting at 1/2000th of a second and adjust from there.
For larger, slower birds like owls or eagles, you can use a slower shutter speed. Start at 1/1000th of a second and adjust as needed.
Remember, these are just starting points. The best settings will depend on the specific conditions you’re shooting in, so don’t be afraid to experiment and adjust as needed.
And there you have it! A deeper dive into bird photography settings. Remember, practice makes perfect, so grab your camera and start snapping some photos. Happy shooting!
Night Owl Photography Settings: Mastering the Dark
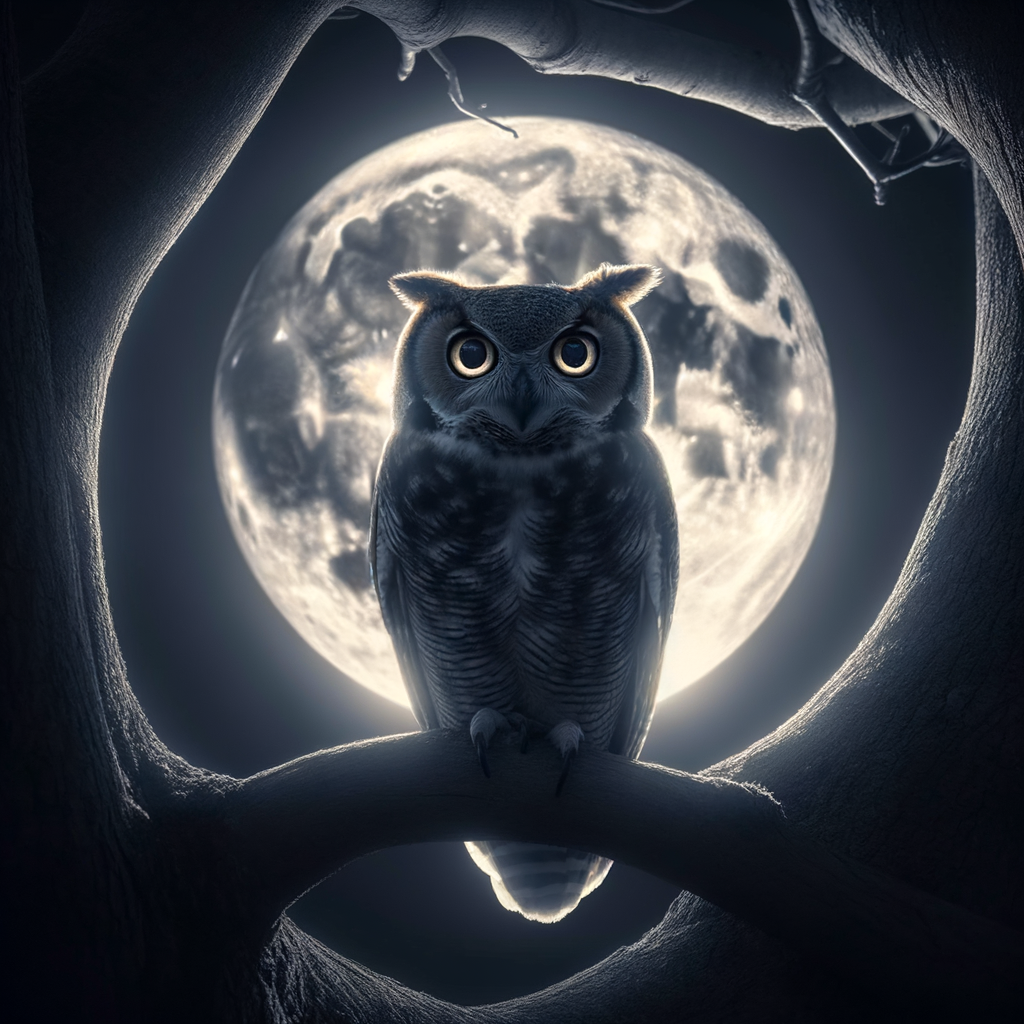
When the sun sets, and the moon takes its place, a whole new world of photography opens up. Night owl photography is a thrilling adventure that lets you capture the mysterious and captivating life of owls under the starry sky. But, it’s not without its challenges. Let’s delve into the two main obstacles you might face and how to overcome them.
Challenges of Night Photography
Photographing owls at night can be a bit tricky. Here are the two main challenges you might encounter:
- Low light conditions: The biggest challenge in night photography is the lack of light. It’s hard to see your subject, let alone focus on it. Plus, your camera might struggle to capture clear and sharp images in such conditions. Low light photography requires a good understanding of your camera settings and a bit of creativity.
- Moving subjects: Owls are nocturnal creatures. They’re most active at night, hunting, flying, and exploring. This means they’re constantly on the move, making it difficult to get a clear shot. You’ll need to be patient and ready to capture the moment when it happens.
Don’t let these challenges discourage you. With the right techniques and a bit of practice, you can master the art of night owl photography. Stay tuned for our next section where we’ll share some tips on how to overcome these challenges.
Overcoming Night Photography Challenges
When it comes to night owl photography, there are a few challenges that can make it a bit tricky. But don’t worry! We’ve got some great tips to help you overcome these challenges and capture some amazing shots of our feathered friends in the dark.
- Using a Tripod
- Utilizing Longer Exposures
- Boosting ISO
A tripod is a photographer’s best friend, especially when shooting in low light conditions. It helps to stabilize your camera, reducing the risk of blurry images caused by camera shake. Plus, it allows you to take your time framing the perfect shot without having to worry about holding the camera steady. If you’re serious about night owl photography, investing in a sturdy tripod is a must.
When shooting at night, there’s less light available for your camera to capture. This is where longer exposures come in handy. By leaving your camera’s shutter open for longer, you allow more light to hit the sensor, resulting in brighter images. Just remember to keep your camera steady (a tripod can help with this) to avoid blurry shots.
ISO is a setting on your camera that affects how sensitive the camera’s sensor is to light. By boosting your ISO, you can make your camera more sensitive to the limited light available at night. However, a higher ISO can also lead to more noise (graininess) in your images, so it’s a bit of a balancing act. Experiment with different ISO settings to find what works best for your specific shooting conditions.
Remember, practice makes perfect. The more you experiment with these techniques, the better you’ll get at capturing stunning night owl photographs. So grab your camera, head out into the night, and start snapping away!
Guide to Owl Photography Equipment
When it comes to owl photography, your equipment can make or break your shots. Here’s a guide to help you choose the right gear.
- Choosing the right camera
- Choosing the right lens
- Additional equipment for owl photography
Choosing the right camera is the first step in capturing stunning owl photos. The best camera for owl photography is one that can handle low light conditions, as owls are mostly active during dusk and dawn. A DSLR or mirrorless camera with a high ISO range would be a great choice. For example, the Nikon D850 or the Sony Alpha 7 III are both excellent options. Remember, the key is to choose a camera that you are comfortable with and suits your budget.
When it comes to lenses, a telephoto lens is a must for owl photography. This type of lens allows you to capture close-up shots of owls without disturbing them. A lens with a focal length of 300mm or more is ideal. The Canon EF 100-200mm or the Nikon 70-200mm are great choices. However, these lenses can be pricey, so consider renting one if you’re just starting out.
Besides the camera and lens, there are a few additional pieces of equipment that can enhance your owl photography. A sturdy tripod is essential for keeping your camera steady, especially when using a heavy telephoto lens. A remote shutter release can also be helpful to minimize camera shake. Additionally, consider investing in a good flashlight or headlamp for those early morning or late evening shoots. Lastly, don’t forget to pack extra batteries and memory cards!
Remember, while having the right equipment is important, it’s your skills and patience that will truly make your owl photographs stand out. Happy shooting!
Owl Photography Tutorial: Step-by-Step Guide
Get ready to dive into the exciting world of owl photography! This step-by-step guide will take you through the process, from preparation to post-processing. Let’s get started!
- Preparing for the Shoot
- Setting Up the Equipment
- Shooting the Owls
- Post-Processing the Images
Before you head out with your camera, there are a few things you need to do. First, research about the owls in your area. Knowing their habits will help you find them and anticipate their behavior. Also, check the weather forecast. Owls are most active at dusk and dawn, so plan your shoot accordingly. Don’t forget to dress appropriately for the weather and the terrain.
When it comes to owl photography, the right equipment is crucial. You’ll need a camera with a good zoom lens to capture the owls from a distance. A tripod can also be helpful to keep your shots steady. Make sure your camera settings are adjusted for the lighting conditions. If you’re shooting at dusk or dawn, you may need to increase your ISO to compensate for the low light.
Once you’ve found your owl, it’s time to start shooting. Remember to be patient and respectful. Owls are wild animals, and it’s important not to disturb them. Try to capture the owl in different poses and actions, like flying or hunting. Experiment with different angles and compositions to create unique and interesting shots.
After the shoot, it’s time to edit your photos. Use a photo editing software to adjust the brightness, contrast, and colors. You can also crop the image to focus more on the owl. Remember, the goal is to enhance the photo, not to change it completely. Keep it natural and true to what you saw.
And there you have it! A step-by-step guide to owl photography. With a bit of practice and patience, you’ll be capturing stunning owl photos in no time. Happy shooting!
Professional Owl Photography: Insights from the Pros
Have you ever wondered what it’s like to be a professional owl photographer? Well, you’re in luck! We’ve got some exclusive insights from the pros to share with you. Let’s dive in!
-
Interview with a Professional Owl Photographer
We had the chance to chat with renowned owl photographer, John Feather, who has been capturing stunning images of owls for over 15 years. He shared some of his secrets with us.
“Patience is key in owl photography. You might have to wait for hours in the cold, but the moment you capture that perfect shot, it’s all worth it.”
John also emphasized the importance of understanding owl behavior. “Knowing when and where they’re most active can greatly increase your chances of getting a good shot.”
-
Case Study: A Night in the Life of an Owl Photographer
Ever wondered what a typical night for an owl photographer looks like? We followed Jane Owlson, another professional in the field, for a night. Here’s what we found:
Time Activity 6:00 PM Arrival at the forest, setting up equipment 7:00 PM – 12:00 AM Waiting and observing, taking shots when possible 12:00 AM – 1:00 AM Break, reviewing photos 1:00 AM – 4:00 AM More waiting and observing, taking shots 4:00 AM Packing up, heading home As you can see, owl photography requires a lot of patience and dedication. But as Jane says, “The thrill of capturing these magnificent creatures in their natural habitat is unmatched.”
-
Key Takeaways for Aspiring Owl Photographers
Based on our interviews and case study, here are some key takeaways for those of you interested in pursuing owl photography:
- Patience is crucial: Be prepared to wait for hours to get the perfect shot.
- Understand owl behavior: Knowing when and where owls are most active can greatly increase your chances of success. Check out this Wikipedia article for more information on owls.
- Invest in good equipment: A good camera and lens can make a big difference in the quality of your photos.
- Practice makes perfect: The more you practice, the better you’ll get. So don’t get discouraged if your first few attempts don’t turn out as you’d hoped.
And there you have it! We hope these insights from the pros will help you on your journey to becoming a professional owl photographer. Happy shooting!