Introduction to Owl Photography Editing
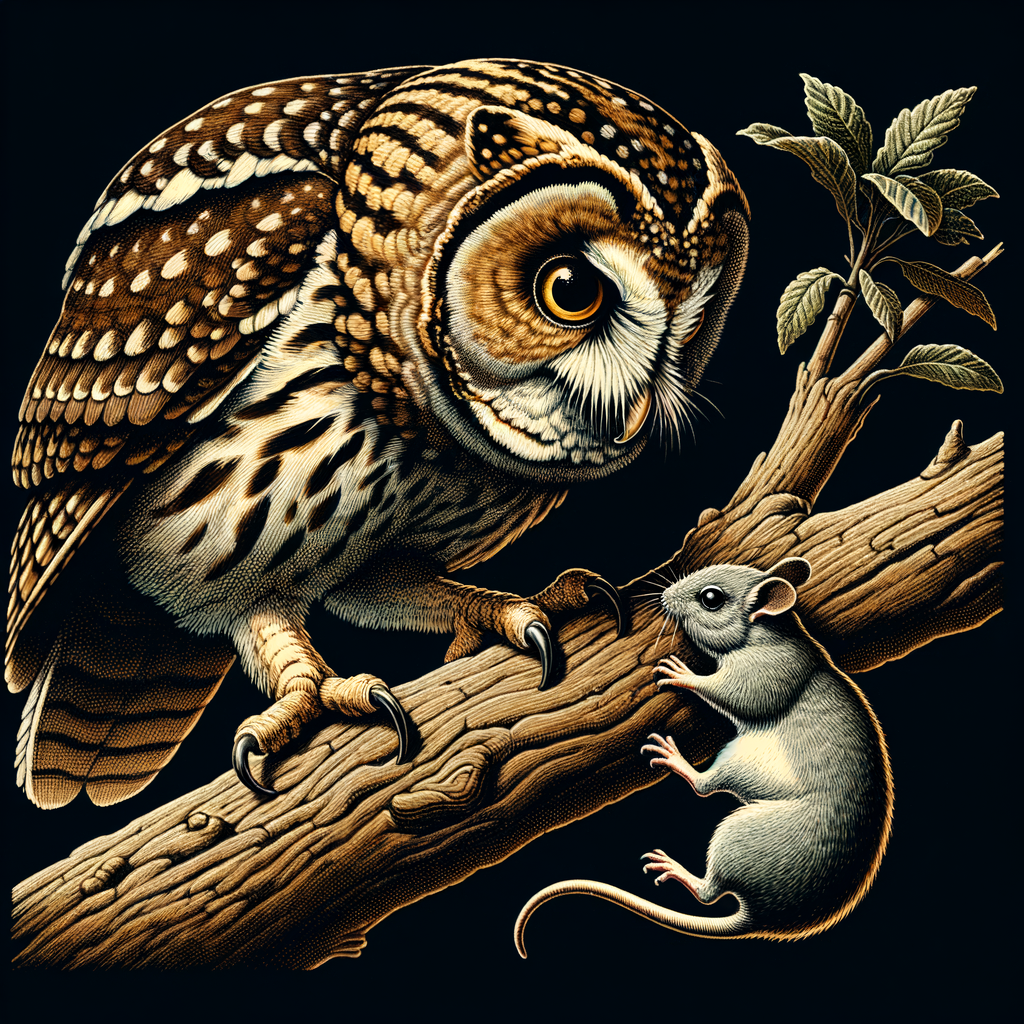
Hey there, owl enthusiasts! Welcome to our guide on owl photography editing. We’re going to dive into the fascinating world of post-processing, where we transform good photos into great ones. So, grab your favorite owl photos and let’s get started!
- Understanding the importance of post-processing in owl photography
- Challenges in night owl photo post-processing
- Overview of the article
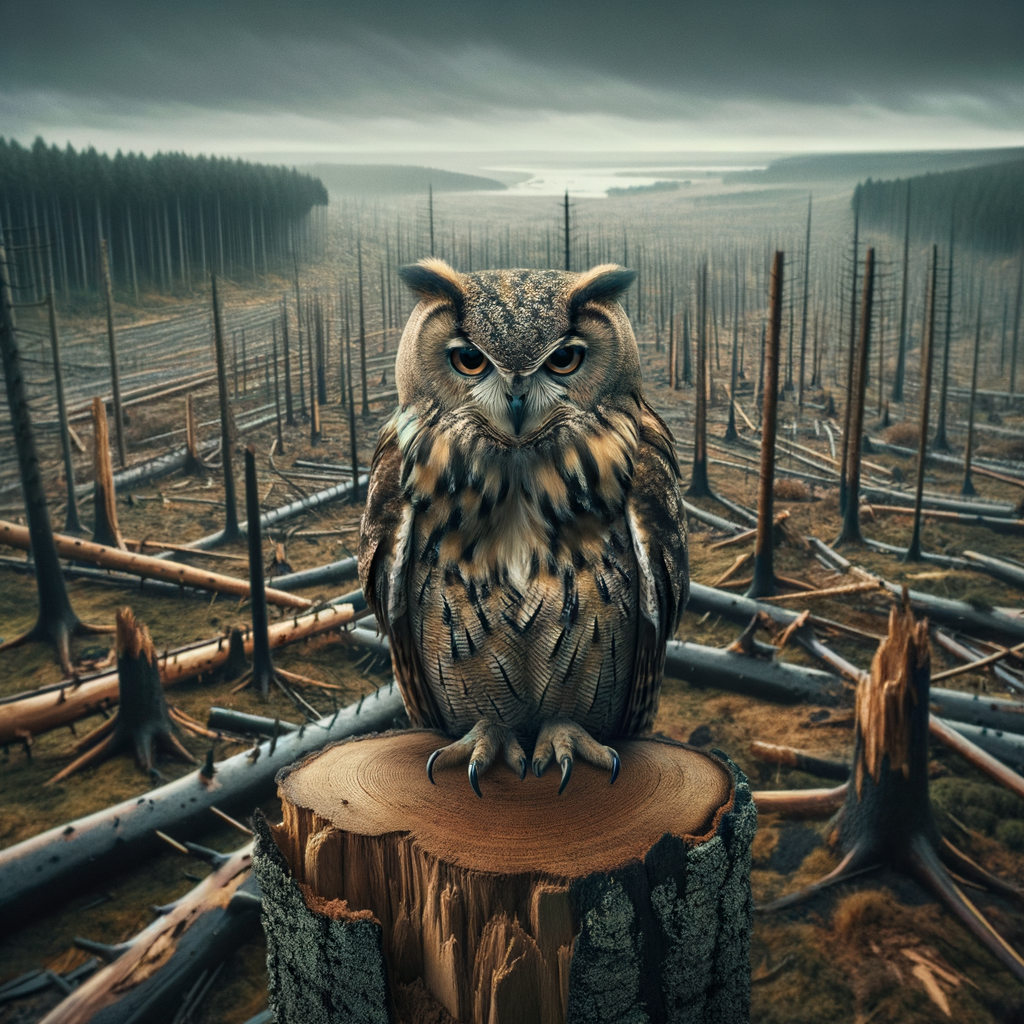
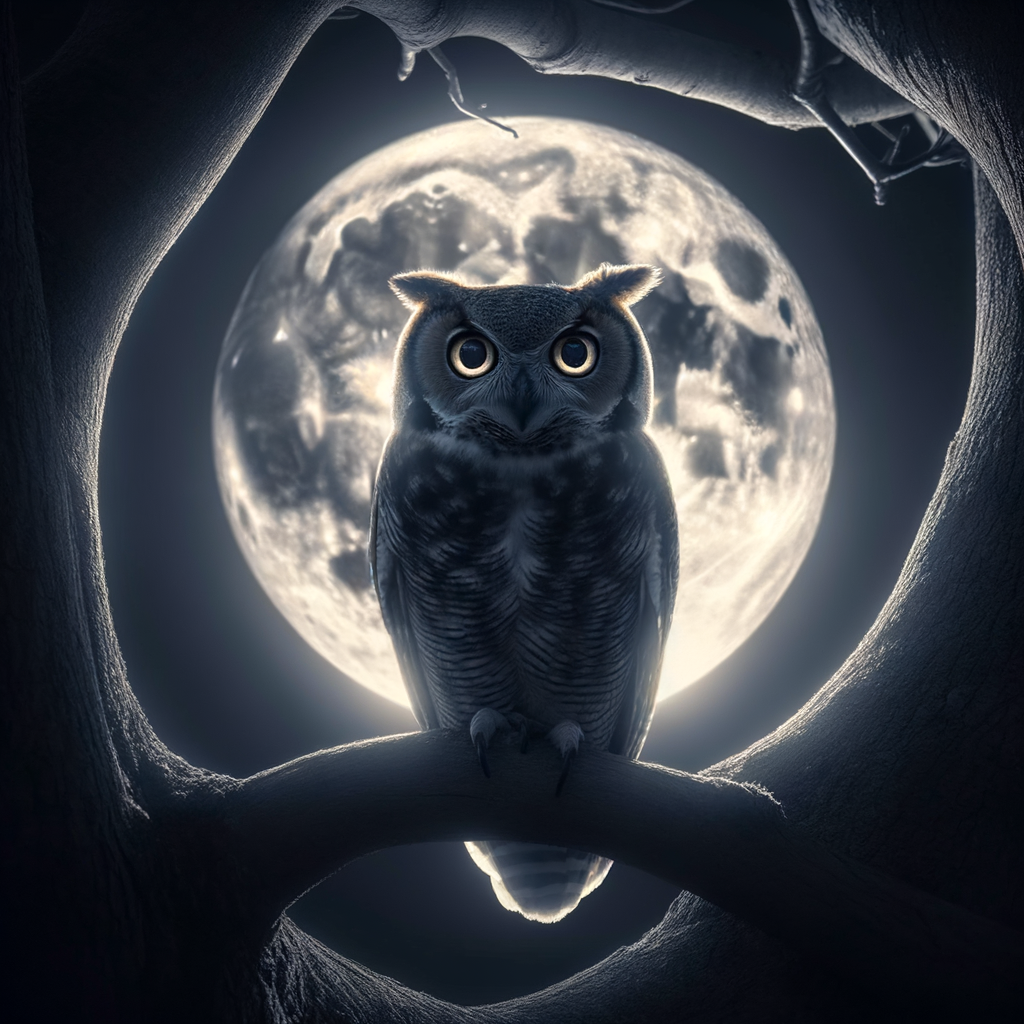
Post-processing is like the magic wand of photography. It’s where we can correct any issues, enhance the details, and make our owl photos really pop. It’s not about changing the photo, but about bringing out the best in it. And when it comes to owl photography, post-processing is even more important. Owls are nocturnal creatures, meaning they’re most active at night. This can make photography a bit tricky, but with the right editing, we can create stunning images that truly capture the beauty of these birds. Learn more about post-processing here.
Editing night owl photos can be a bit of a challenge. The low light conditions can result in photos that are too dark, grainy, or lack detail. But don’t worry, with the right techniques and a bit of patience, you can overcome these challenges and create stunning owl photos. We’ll be covering some of these techniques in this guide, so stay tuned!
In this guide, we’ll be covering everything you need to know about owl photography editing. We’ll start by discussing the essential equipment you’ll need, then move on to pre-processing tips. Next, we’ll dive into post-processing techniques specifically for bird photos and discuss some of the best software for wildlife photography post-processing. Finally, we’ll wrap up with some tips for editing owl images. So whether you’re a beginner or a seasoned pro, there’s something for everyone in this guide. Let’s dive in!
Essential Equipment for Night Owl Photography
If you’re serious about capturing the magic of owls in the night, you’ll need the right equipment. Let’s explore the essentials.
- Choosing the right camera and lens
- Importance of a sturdy tripod
- Additional equipment for owl photography
Not all cameras are created equal, especially when it comes to night owl photography. A camera with a high ISO range can help you capture clear images even in low light conditions. A DSLR or mirrorless camera is often the best choice for wildlife photography. As for the lens, a telephoto lens with a focal length of at least 300mm is recommended. This allows you to capture the owl from a distance without disturbing it. Learn more about DSLR cameras here.
A sturdy tripod is a must-have for night owl photography. It provides stability, which is crucial for capturing sharp images in low light conditions. A tripod also allows you to use slower shutter speeds without worrying about camera shake. Remember, the heavier your camera and lens, the sturdier your tripod needs to be. Read more about the importance of tripods in photography here.
Besides the camera, lens, and tripod, there are a few other pieces of equipment that can enhance your night owl photography. A flashlight can help you set up your equipment in the dark. A remote shutter release allows you to take photos without touching the camera, reducing the risk of camera shake. And don’t forget extra batteries and memory cards – you don’t want to run out of power or storage in the middle of a shoot! Find out more about additional photography equipment here.
Pre-Processing Tips for Owl Photography
Before you even start clicking away, there are a few things you need to set up on your camera to make sure your owl photos turn out just right. Let’s dive into the pre-processing tips for owl photography.
Camera Settings for Night Owl Photography
When it comes to night owl photography, your camera settings can make or break your shots. Here are a few key settings you need to understand and adjust:
- Understanding exposure settings: Exposure is all about how much light your camera lets in. For night owl photography, you’ll often need to increase your exposure to capture the details of the owl against the dark sky. But be careful not to overexpose your shot, or you’ll end up with a washed-out owl! Learn more about exposure settings here.
- Importance of white balance: White balance affects the color tones in your photos. For night owl photography, you might want to adjust your white balance to a cooler setting to capture the blue hues of the night sky. Find out more about white balance here.
- Using manual focus: Auto focus can struggle in low light conditions. That’s why for night owl photography, it’s often better to use manual focus. This way, you can make sure the owl is sharp and in focus, even if the rest of the scene is a bit blurry. Discover more about manual focus here.
Remember, these are just starting points. The best settings for your owl photography will depend on your specific camera, the lighting conditions, and the effect you’re trying to achieve. So don’t be afraid to experiment and see what works best for you!
Composition Techniques for Owl Photography
Now that we’ve covered the camera settings, let’s dive into some composition techniques that can really make your owl photos stand out. These techniques will help you capture the beauty and majesty of these magnificent creatures in a way that truly does them justice.
- Rule of Thirds
- Using the Environment
- Capturing Action Shots
The Rule of Thirds is a basic principle in photography that can help you create balanced and interesting shots. Imagine dividing your frame into nine equal parts by two equally-spaced horizontal lines and two equally-spaced vertical lines. The idea is to place the owl along these lines, or at the intersections of them. This can make your photo more balanced and will enable viewers to interact with it more naturally.
Don’t just focus on the owl, use the environment to tell a story. Whether it’s a snowy landscape, a dense forest, or a clear night sky, the environment can add depth and context to your photo. It can also help to convey the natural habitat of the owl, making your photo more authentic and engaging.
Owls are known for their swift and silent flight. Capturing them in action can be a challenge, but the result is often breathtaking. Try to anticipate the owl’s movement and be ready to shoot. Use a fast shutter speed to freeze the action and get a clear shot. Remember, practice makes perfect!
These are just a few techniques to get you started. Remember, the key to great owl photography is patience and practice. So, grab your camera and start exploring the world of owls!
Post-Processing Techniques for Bird Photos
After you’ve captured your perfect owl shot, the fun doesn’t stop there! It’s time to dive into the world of post-processing. This is where you can really make your photos pop and bring out the best in your feathered friends. Let’s take a look at some basic editing techniques you can use for your owl pictures.
Basic Editing Techniques for Owl Pictures
Even the best photos can benefit from a little editing. Here are three basic techniques that can help enhance your owl pictures:
- Cropping and Straightening
- Adjusting Exposure and Contrast
- Enhancing Colors
First up, we have cropping and straightening. This is a simple yet effective way to improve your photos. By cropping, you can remove any unwanted elements from your picture and focus on the owl. Straightening, on the other hand, helps to align your photo properly. It’s a small tweak that can make a big difference!
Next, let’s talk about exposure and contrast. Exposure refers to how light or dark your photo is. If your photo is too dark, you can increase the exposure to brighten it up. Contrast is about the difference between the light and dark areas in your photo. Increasing the contrast can make your owl stand out more.
Lastly, we have color enhancement. This is where you can really make your owl shine. By enhancing the colors, you can make your owl’s feathers look more vibrant and lifelike. Just be careful not to overdo it, as too much color enhancement can make your photo look unnatural.
Remember, editing should enhance your photos, not overpower them. The goal is to highlight the natural beauty of the owls, not to make them look like something they’re not. So, have fun with it, but keep it real!
Stay tuned for our next section where we’ll dive into some more advanced editing techniques. Happy editing!
Advanced Owl Photo Enhancement Techniques
Now that we’ve covered the basics, let’s take a step further into the world of owl photo editing. Here are some advanced techniques that can help you make your owl photos look even more stunning.
- Using Layers and Masks
- Noise Reduction Techniques
- Sharpening and Detail Enhancement
Layers and masks are like magic tools in photo editing. They allow you to make changes to your owl photos without permanently altering the original image. Think of layers as sheets of glass stacked on top of each other. You can paint on each layer, and the changes will only affect that layer. Masks, on the other hand, are like stencils. They let you choose specific areas of your photo to edit. For example, you can brighten the owl’s eyes without affecting the rest of the photo. Learn more about layers and masks here.
Noise is those tiny specks you see in your photos, especially when you shoot in low light conditions. It can make your owl photos look grainy and less clear. Noise reduction techniques can help you get rid of these specks. There are many software tools available that can help you reduce noise in your photos. But remember, too much noise reduction can make your photos look blurry, so use it sparingly.
Sharpening can make the details of your owl photos pop out. It works by increasing the contrast between the pixels. Detail enhancement, on the other hand, can bring out the finer details in your photos, like the texture of the owl’s feathers. But be careful not to overdo it, as too much sharpening can make your photos look unnatural. Learn more about sharpening here.
These advanced techniques can take your owl photos to the next level. But remember, the key to great photos is not just in the editing. It’s also about capturing the right moments, in the right light, with the right settings. So keep practicing, keep learning, and keep shooting. Happy owl photography!
Wildlife Photography Post-Processing Software
Once you’ve captured your owl photos, the next step is to make them look their best. That’s where post-processing software comes in. Let’s dive into some of the most popular options, compare their features and prices, and help you choose the right one for your needs.
-
Overview of Popular Editing Software
There are several software options available for editing your owl photos. Here are a few of the most popular:
- Adobe Photoshop: A powerful tool used by professionals worldwide. It offers a wide range of editing features, but it can be a bit complex for beginners. Learn more about Photoshop here.
- Lightroom: Also from Adobe, Lightroom is designed specifically for photo editing and is easier to use than Photoshop. It’s great for organizing your photos, too. Learn more about Lightroom here.
- GIMP: A free, open-source software that’s a good alternative to Photoshop. It’s not as feature-rich, but it’s a great option if you’re on a budget. Learn more about GIMP here.
-
Comparing Features and Prices
Now that you know a bit about each software, let’s compare their features and prices:
Software Key Features Price Adobe Photoshop Advanced editing tools, layer support, 3D design capabilities $20.99/month Lightroom Photo organization, basic editing tools, cloud storage $9.99/month GIMP Basic editing tools, customizable interface, free to use Free -
Choosing the Right Software for Your Needs
When choosing a software, consider your budget, your editing needs, and your skill level. If you’re a beginner, Lightroom or GIMP might be a good choice. If you’re more advanced and need more features, Photoshop might be worth the investment. Remember, the best software is the one that helps you achieve your vision for your owl photos.
With the right software, you can turn your owl photos into true works of art. So, choose wisely and happy editing!
Tips for Editing Owl Images
Editing owl images can be a hoot, but it’s not always as easy as it seems. Let’s dive into some common mistakes that photographers make when editing nocturnal bird photos.
Common Mistakes in Post-Processing for Nocturnal Bird Photos
Editing photos of owls and other nocturnal birds can be tricky. Here are some common mistakes to avoid:
- Over-editing: It’s easy to get carried away with all the editing tools available. But remember, less is often more. Over-editing can make your owl photos look unnatural and lose their original charm. Keep it simple and let the owl’s natural beauty shine through.
- Ignoring the histogram: The histogram is a handy tool that shows you the distribution of light in your photo. If you ignore it, you might end up with an image that’s too dark or too bright. Check out Wikipedia’s page on histograms to learn more.
- Not saving original files: Always, always, always save your original files. If you make a mistake while editing, or if you want to try a different editing approach later, you’ll be glad you have the original to go back to. Plus, it’s a good way to see how much you’ve improved over time!
Now that we’ve covered some common mistakes, let’s move on to some best practices for editing owl photos. Stay tuned!
Best Practices in Owl Photography Editing
Editing owl photos can be a hoot if you know the right tricks! Let’s dive into some best practices that can make your owl photos pop.
- Adopting a non-destructive workflow
- Using presets and actions
- Consistently reviewing and improving your editing skills
Non-destructive editing means making changes to your photos without permanently altering the original image. This way, you can always go back to the original if you need to. It’s like having a safety net for your edits! You can do this by using layers in editing software like Photoshop. Each edit you make is on a separate layer, so you can tweak or remove it without affecting the rest of the image.
Presets and actions are like shortcuts for editing. They are pre-set adjustments that you can apply to your photos with just one click. This can save you a lot of time, especially when you’re editing lots of photos. For example, if you often brighten your owl photos and increase the contrast, you can create a preset for that. Then, instead of making those adjustments every time, you just click the preset!
Just like with anything else, practice makes perfect in photo editing. The more you edit, the better you’ll get. But it’s not just about doing it a lot – it’s also about constantly learning and improving. Try different techniques, experiment with new tools, and always be on the lookout for ways to make your owl photos even better. And remember, even the best editors never stop learning!
So there you have it – some best practices for editing owl photos. Remember, the most important thing is to have fun with it. Happy editing!
Conclusion: Mastering the Art of Owl Photography Editing
Well, folks, we’ve come a long way in our journey to master the art of owl photography editing. Let’s take a moment to look back and recap what we’ve learned.
- Recap of key takeaways: We started by understanding the importance of the right equipment for night owl photography. We then moved on to pre-processing tips and post-processing techniques specifically for bird photos. We also explored the software options available for wildlife photography post-processing. Finally, we dived deep into specific tips for editing owl images.
- Encouragement to practice and experiment: Remember, the key to mastering any skill, including owl photography editing, is practice and experimentation. Don’t be afraid to try different settings, techniques, or software. Each photo is a new opportunity to learn and grow. As Thomas Edison once said, “I have not failed. I’ve just found 10,000 ways that won’t work.”
- Final thoughts on the importance of post-processing in owl photography: Post-processing is not just about making your photos look good. It’s about bringing out the true beauty of these magnificent creatures and sharing it with the world. It’s about capturing the essence of the owl’s life in a single image. So, keep practicing, keep experimenting, and most importantly, keep enjoying the process!
And there you have it! You’re now well on your way to becoming a master owl photographer. So grab your camera, head out into the night, and let the owls be your guide. Happy snapping!