Introduction to Owl Photography
Photographing owls, the majestic creatures of the night, is an art that combines the allure of nocturnal elegance with the thrill of capturing a moment in time. This introduction will guide you through the basics of owl photography and explain why these images captivate audiences worldwide.
-
- The allure of nocturnal elegance
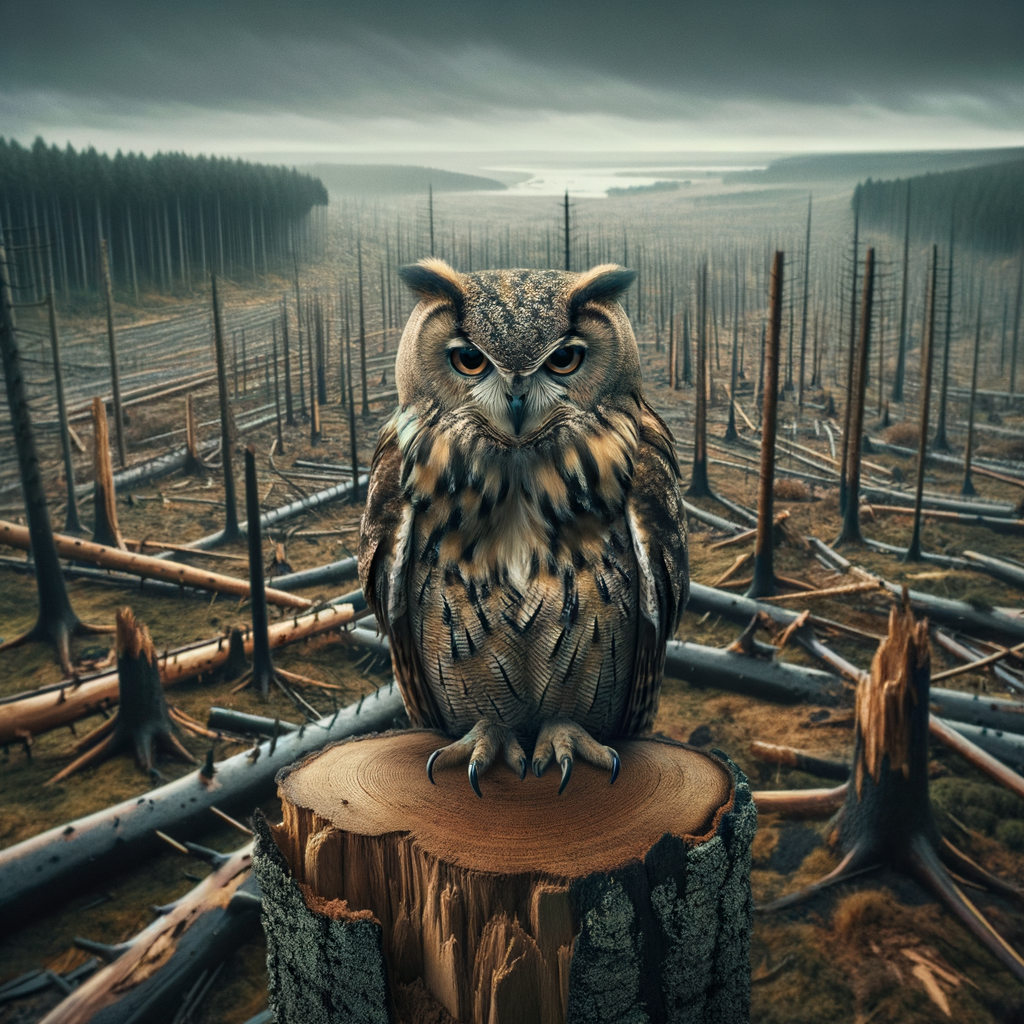
Owls are creatures of the night, their elegance and mystery enhanced by the cloak of darkness. They move silently, their soft feathers muffling the sound of their wings. Their large, expressive eyes glow in the moonlight, creating a captivating image. The allure of this nocturnal elegance draws photographers to the challenge of capturing these elusive creatures on film.
-
- Understanding the basics of owl photography
Owl photography requires patience, skill, and an understanding of the bird’s behavior. Knowing when and where to find owls, how to approach them without causing distress, and how to use your camera settings to capture the best image are all crucial aspects of this art. We’ll delve into these basics, providing you with a solid foundation for your owl photography journey.
-
- Why owl pictures captivate audiences
Owl pictures captivate audiences for many reasons. Their expressive eyes, their mysterious nature, and the rare opportunity to see them up close all contribute to their appeal. Additionally, an owl’s ability to rotate its head almost completely around adds a unique and intriguing element to photographs. These factors, combined with the skill of the photographer, result in images that are both beautiful and fascinating.
In the following sections, we’ll explore more about owls, the equipment needed for nighttime bird photography, techniques for capturing owls, and case studies in owl photography. By the end of this guide, you’ll have a deeper appreciation for the art and joy of owl photography.
Understanding Owls: A Primer for Photographers
As a photographer, understanding your subject is key to capturing the perfect shot. In this section, we will delve into the fascinating world of owls, their behavior, and the best times and places to photograph them.
- Getting to know the subject: Owls
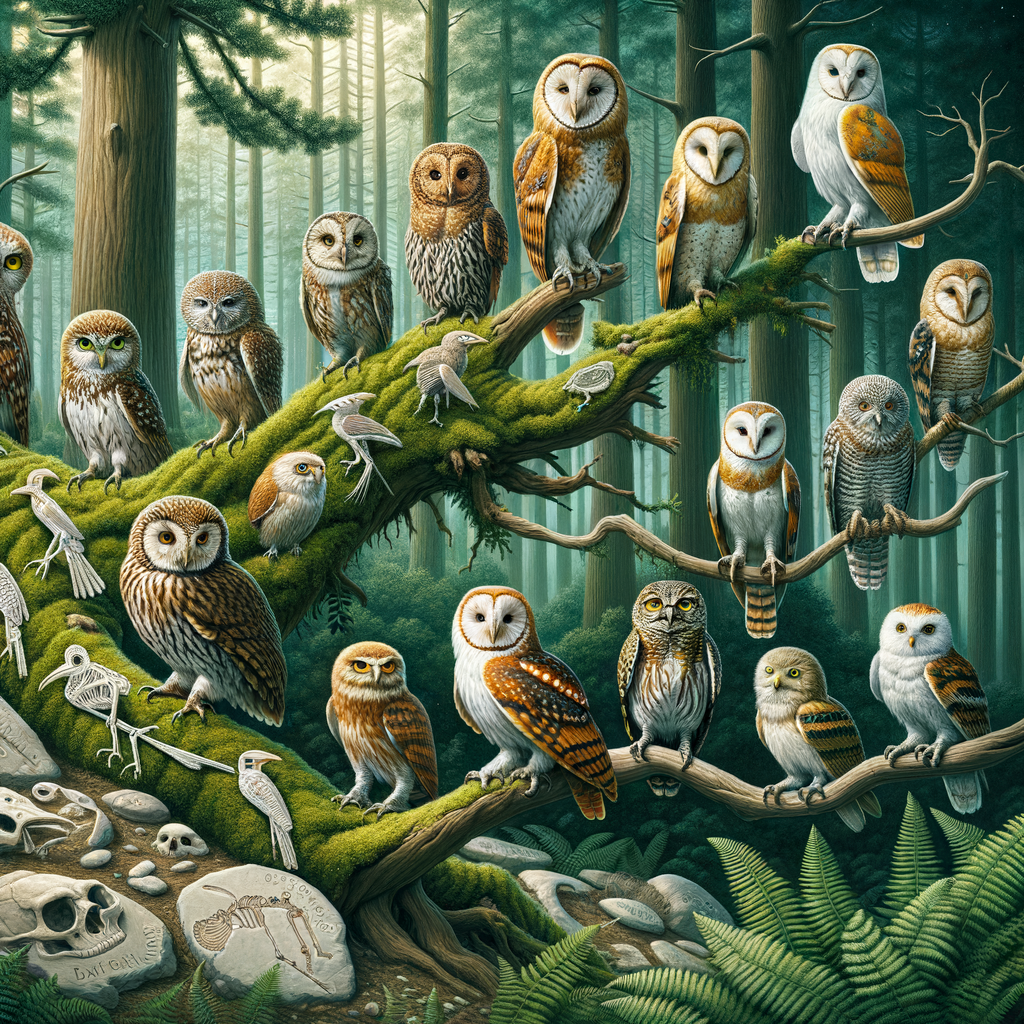
Owls are nocturnal birds of prey, known for their distinctive round faces, large eyes, and silent flight. There are over 200 species of owls worldwide, each with its unique characteristics. Owls can be found in a variety of habitats, from dense forests to open prairies. Their sizes range from the tiny Elf Owl, which is 5 inches tall, to the Great Gray Owl, which can reach up to 33 inches in height.
- Understanding owl behavior for better shots
Owls are most active during the night, making them a challenging subject for photographers. They have a range of behaviors that can make for captivating photographs. For instance, owls rotate their heads up to 270 degrees to compensate for their fixed eye sockets. They also have a unique hunting style, swooping down on their prey with precision and silence. Understanding these behaviors can help you anticipate their actions and capture stunning shots.
- Best times and places for capturing owls
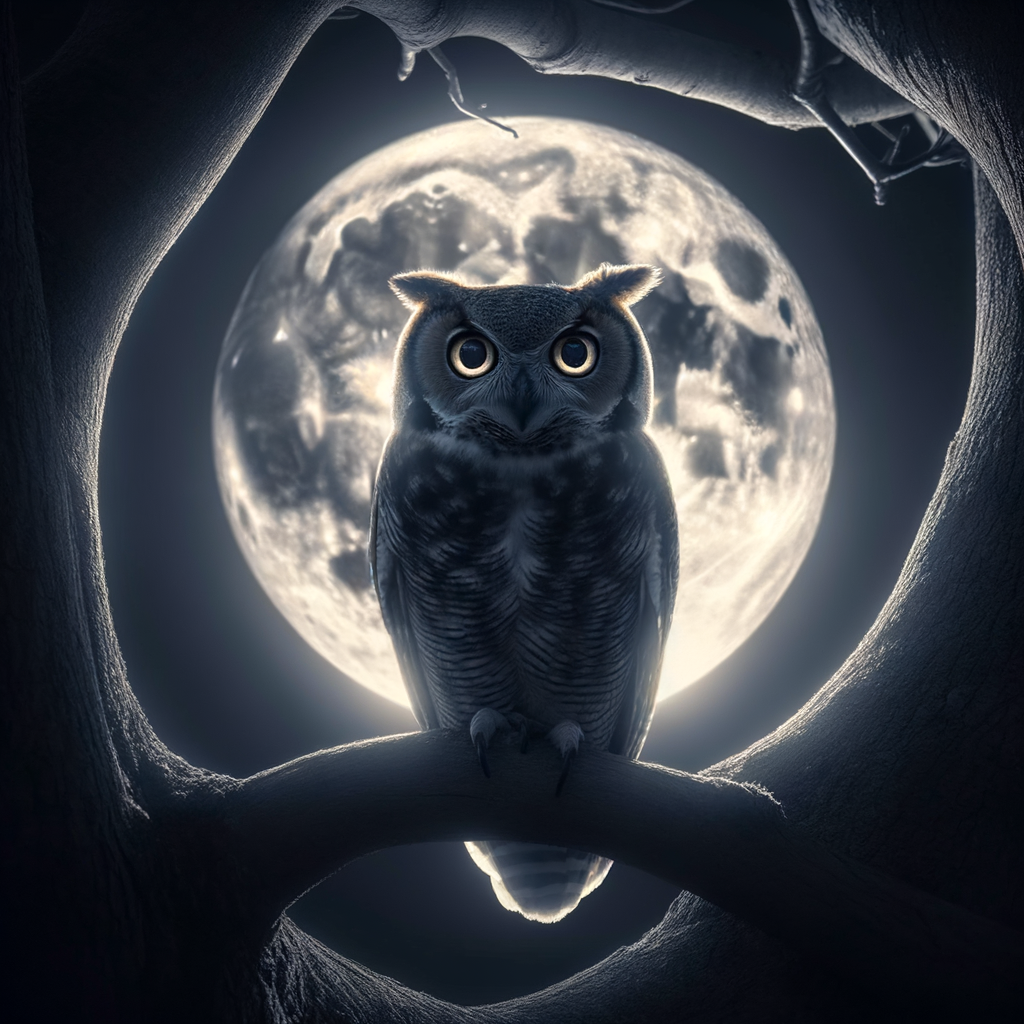
The best time to photograph owls is during the “golden hours” of dawn and dusk when they are most active. As for the location, owls can be found worldwide, but they are most commonly seen in wooded areas, near water bodies, and sometimes even in urban parks. It’s essential to maintain a respectful distance to avoid disturbing these magnificent creatures.
| Species of Owl | Size | Best Time to Photograph | Common Habitat |
|---|---|---|---|
| Great Gray Owl | Up to 33 inches | Dusk and Dawn | Wooded Areas |
| Elf Owl | 5 inches | Night | Desert Regions |
In conclusion, understanding owls and their behavior can significantly enhance your owl photography. Remember, patience is key in wildlife photography. Happy shooting!
Equipment for Nighttime Bird Photography
When it comes to nighttime bird photography, especially capturing the elusive owls, the right equipment can make all the difference. In this section, we will discuss the essential gear you need to get started.
-
- Choosing the Right Camera for Night Photography
For nighttime bird photography, you need a camera that performs well in low light conditions. Cameras with a high ISO range can help you capture clear and detailed images even in the dark. A full-frame DSLR or mirrorless camera is often a good choice as they have larger sensors that can gather more light. For example, the Nikon D850 and the Sony A7R III are popular among wildlife photographers for their excellent low-light performance.
-
- Essential Lenses for Capturing Sharp Owl Pictures
The lens you choose can significantly impact the quality of your owl pictures. A telephoto lens is a must-have for bird photography. It allows you to get close-up shots of owls without disturbing them. A lens with a focal length of 300mm or more is recommended. Additionally, a lens with a wide aperture (f/2.8 or f/4) can gather more light, making it ideal for nighttime photography. The Canon EF 100-400mm f/4.5-5.6L IS II USM is a favorite among bird photographers for its sharpness and versatility.
-
- Additional Equipment for Wildlife Photography
Beyond the camera and lens, there are a few other pieces of equipment that can enhance your nighttime bird photography. A sturdy tripod is essential to stabilize your camera and prevent blurry images. A remote shutter release can help you take photos without physically touching the camera, reducing the chance of camera shake. Additionally, a flashlight or headlamp can help you navigate in the dark, and a camouflage clothing can help you blend into the environment and get closer to the owls.
The right equipment can greatly enhance your ability to capture stunning owl pictures at night. Remember, the best gear is the one that you feel comfortable using and meets your specific needs and budget.
| Equipment | Why It’s Important |
|---|---|
| High ISO range camera | Performs well in low light conditions |
| Telephoto lens | Allows close-up shots without disturbing the bird |
| Sturdy tripod | Stabilizes the camera, preventing blurry images |
| Remote shutter release | Reduces camera shake by eliminating the need to touch the camera |
| Flashlight or headlamp | Helps navigate in the dark |
| Camouflage clothing | Helps blend into the environment, allowing closer approach to the owls |
Techniques for Capturing Owls
When it comes to capturing the majestic beauty of owls, there are several techniques that can help you take stunning photographs. These techniques range from understanding the basics of bird photography to mastering more advanced skills.
Basics of Bird Photography Techniques
Before you start capturing owls, it’s important to understand the basics of bird photography. Here are some key techniques you should be familiar with:
- Understanding shutter speed, aperture, and ISO: Shutter speed, aperture, and ISO are the three pillars of photography. Shutter speed controls how long your camera’s sensor is exposed to light, aperture determines how much light enters your camera, and ISO is the sensitivity of your camera to available light. A fast shutter speed (like 1/2000) can freeze the action of a flying owl, while a slower speed (like 1/60) can create a sense of motion. A small aperture (like f/16) keeps more of the scene in focus, while a large aperture (like f/2.8) blurs the background. A low ISO (like 100) produces the highest image quality but requires more light, while a high ISO (like 3200) allows you to shoot in low light but may result in more noise.
- Using the rule of thirds in bird photography: The rule of thirds is a basic principle of composition that suggests dividing your frame into nine equal parts by two equally-spaced horizontal lines and two equally-spaced vertical lines, and then placing your subject along these lines or at their intersections. This can create more balanced and engaging photos. For example, you can place an owl on the left or right third of your frame, rather than in the center, to give it space to look into or fly into.
- Mastering focus for sharp owl pictures: To get sharp pictures of owls, you need to focus accurately. One way is to use autofocus with a single focus point, and place this point on the owl’s eye, which should be the sharpest part of your image. Another way is to use manual focus with live view, and magnify the owl’s eye on your camera’s screen or viewfinder, and then adjust the focus ring on your lens until the eye is sharp. Remember that a steady hand or a tripod can help you maintain focus, especially in low light or with a long lens.
By mastering these basic bird photography techniques, you can take your owl photography to the next level. But remember, practice makes perfect. So, don’t be discouraged if your first few shots don’t turn out as you expected. Keep trying, learn from your mistakes, and soon you’ll be capturing owls like a pro.
Advanced Owl Photography Techniques
Once you’ve mastered the basics of owl photography, it’s time to take your skills to the next level. Here are some advanced techniques that can help you capture stunning, professional-quality owl photos.
-
- Using Flash in Owl Photography
While using flash in bird photography can be tricky, it can also add depth and detail to your owl photos. The key is to use it sparingly and at the right time. A flash can help illuminate the owl’s feathers, highlighting their intricate patterns and textures. However, it’s important to remember that owls are nocturnal creatures, and a bright flash can startle them. Always use a diffuser or bounce the flash off a nearby surface to soften its effect.
-
- Experimenting with Angles and Perspectives
Don’t limit yourself to shooting from eye level. Try different angles and perspectives to create more dynamic and interesting photos. For example, shooting from below can make the owl appear larger and more imposing, while shooting from above can give a unique bird’s-eye view. Remember, the goal is to present the owl in a way that’s not typically seen in everyday life.
-
- Post-Processing Techniques for Owl Photos
Post-processing is where you can truly make your owl photos shine. With the right editing techniques, you can enhance the owl’s features, bring out the details in the feathers, and create a mood that complements the owl’s natural habitat. Some popular post-processing techniques include adjusting the contrast and brightness, enhancing the colors, and using filters to add a creative touch. However, it’s important to keep the edits subtle and natural-looking. Over-editing can make the photo look artificial and take away from the owl’s natural beauty.
The best way to improve your owl photography skills is through practice. Don’t be afraid to experiment with these advanced techniques and see what works best for you. Happy shooting!
Case Studies in Owl Photography
Let’s delve into some real-life examples of owl photography. These case studies will provide you with insights into the challenges and rewards of capturing these magnificent creatures on camera.
-
Case Study 1: Capturing the nocturnal elegance of barn owls
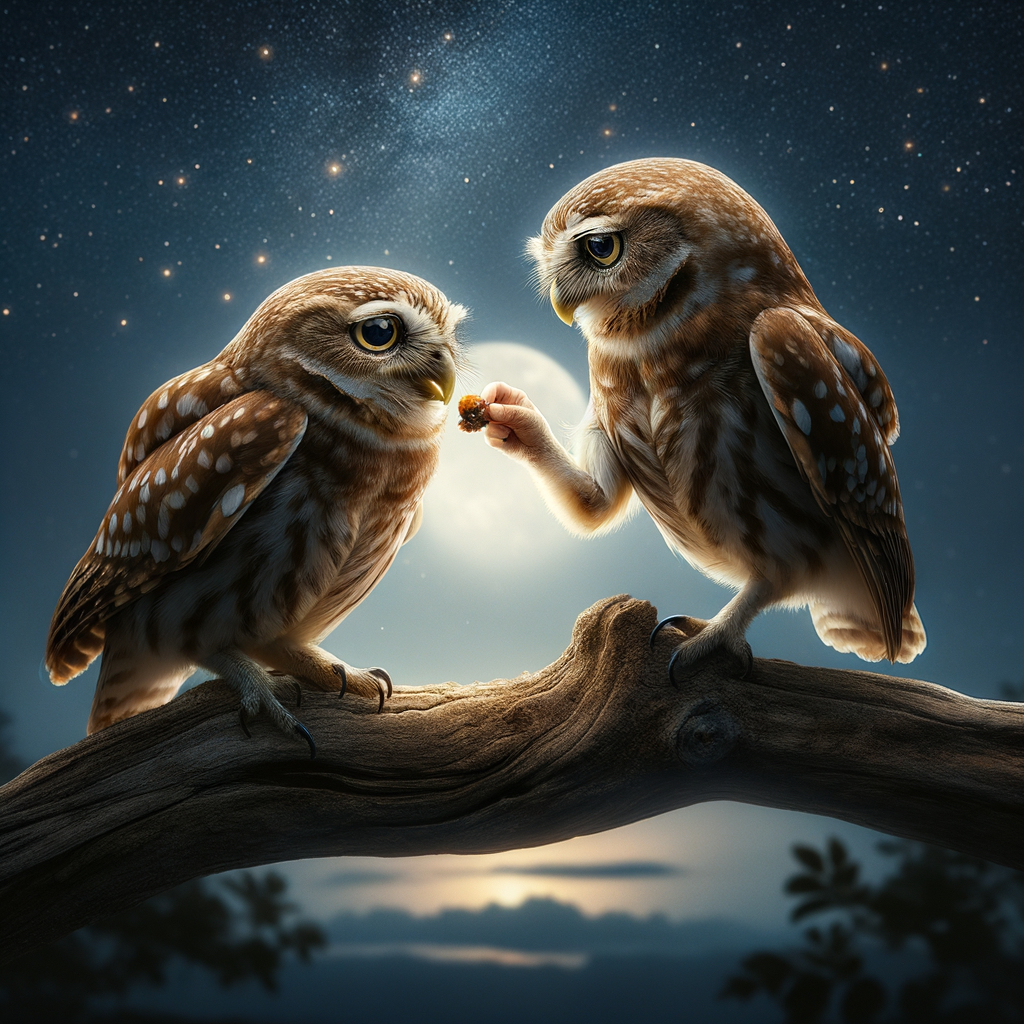
Our first case study focuses on barn owls, known for their distinctive heart-shaped faces and nocturnal habits. The photographer faced the challenge of capturing these elusive creatures in low light conditions. Using a high ISO setting and a fast shutter speed, they were able to capture stunning images of the barn owls in flight, highlighting their grace and elegance. The key takeaway from this case study is the importance of understanding the owl’s behavior and adjusting your camera settings accordingly.
-
Case Study 2: The challenge of snowy owl photography
The second case study involves the majestic snowy owl. These owls are known for their beautiful white plumage, which can be a challenge to photograph against snowy backgrounds. The photographer used a technique called exposure compensation to prevent the owl from appearing washed out in the photos. This case study emphasizes the importance of mastering your camera’s settings to adapt to different lighting and environmental conditions.
-
Case Study 3: A successful owl photo shoot in the wild
The final case study takes us into the wild, where a photographer embarked on a mission to photograph owls in their natural habitat. This required a lot of patience and stealth to avoid disturbing the owls. The photographer used a long telephoto lens to keep a safe distance, and waited for the perfect moment to capture the owls in action. This case study underscores the importance of respect for wildlife and patience in achieving successful results in owl photography.
From understanding the behavior of different owl species, mastering camera settings, to practicing patience and respect for wildlife, there’s a lot to learn from these experiences. Happy shooting!
Conclusion: The Art and Joy of Owl Photography
As we draw this informative journey to a close, it’s important to reflect on the key points we’ve covered. Owl photography is an art that brings immense joy and satisfaction, but it also requires dedication, patience, and a willingness to learn continually. Let’s revisit some of the key takeaways for aspiring owl photographers.
-
- Key takeaways for aspiring owl photographers
Understanding owls and their behavior is the first step towards capturing stunning images. Invest in the right equipment, especially for nighttime photography. Master the techniques of capturing owls in their natural habitat, and don’t shy away from experimenting with different angles and lighting conditions.
-
- The role of patience and persistence in wildlife photography
Patience is indeed a virtue in wildlife photography. Owls are elusive creatures, and it may take hours, even days, to get the perfect shot. Persistence is equally important. Don’t be disheartened by initial failures. Remember, every missed shot is a step closer to a breathtaking image.
-
- Continual learning in the field of nature photography
Photography, like any other art, is a journey, not a destination. There’s always something new to learn, be it a technique, a piece of equipment, or an understanding of the subject. Stay curious, keep learning, and your photography will continue to evolve.
To sum up, owl photography is a rewarding pursuit that combines art, science, and a deep love for nature. It’s a journey filled with joy, challenges, and endless learning opportunities. As the famous photographer Ansel Adams once said, “You don’t take a photograph, you make it.” So go out there, make your own masterpiece, and most importantly, enjoy the process.
| Key Takeaway | Details |
|---|---|
| Understanding Owls | Learn about owl behavior and habitats for better shots. |
| Equipment | Invest in good quality equipment suitable for nighttime photography. |
| Techniques | Master various techniques for capturing owls in their natural environment. |
| Patience and Persistence | Be patient and persistent in your pursuit of the perfect shot. |
| Continual Learning | Stay curious and keep learning to evolve your photography skills. |